Pea shoots are a delightful addition to any meal, boasting a mild, sweet flavor along with impressive nutritional benefits. These tender greens are easy to grow, making them perfect for beginners. In this comprehensive guide, we will explore how to cultivate pea shoots in a tray, covering everything from selection of seeds to harvesting.
What Are Pea Shoots?
Pea shoots are the young leaves and tendrils of pea plants (Pisum sativum). They have a delicate taste, reminiscent of fresh peas, and are packed with vitamins, minerals, and antioxidants. Nutritional benefits include:
- High amounts of vitamins A, C, and K
- A good source of protein and fiber
- Rich in antioxidants
Their culinary versatility allows them to enhance salads, sandwiches, soups, and stir-fries, making them a worthwhile addition to your home garden.
Benefits of Growing Pea Shoots

- Fast Growth: Pea shoots typically take just 7 to 14 days to grow, providing quick rewards for your efforts.
- Minimal Space: They can be grown in small trays or containers, making them ideal for apartments or homes with limited outdoor space.
- Low Maintenance: Pea shoots require minimal care, making them suitable even for complete beginners.
- Cost-Effective: Growing your own pea shoots can be significantly cheaper than purchasing them from stores.
What You’ll Need
Before you begin, gather the following items:
- Seeds: Look for organic, non-GMO pea seeds that are specifically labeled for sprouting.
- Tray: A shallow tray (1-2 inches in depth) with drainage holes. Seedling trays or even recycled takeout containers work well.
- Soil: Use a quality seed-starting mix that retains moisture but drains well. Alternatively, consider hydroponic mediums like coconut coir.
- Watering Can or Spray Bottle: For easy watering and misting.
- Light Source: A windowsill with plenty of sunlight or grow lights if natural light is insufficient.
- Plastic Cover or Plastic Wrap: To create a humid environment for germination.

Step-by-Step Guide to Growing Pea Shoots
Step 1: Choosing the Right Seeds
Start with selecting the appropriate seeds. Look for sweet varieties like ‘Sugar Snap’ or ‘Snow Peas’. Always choose seeds that are specifically intended for sprouting, as these are often more reliable and better suited for growing shoots.
Step 2: Prepare the Tray
- Clean the Tray: Ensure that your tray is clean and free from any contaminants.
- Add Soil: Fill the tray with seed-starting mix. Level it out, leaving about ½ inch of space at the top. Lightly press the soil to eliminate large air pockets but avoid compacting it too much, as peas need aeration.
- Water the Soil: Lightly moisten the soil with water until it’s damp but not soaked. Allow it to settle for a few minutes.
Step 3: Sowing the Seeds
- Soak Seeds: Soak the seeds in water for about 4–8 hours before planting. This helps to kickstart the germination process.
- Planting: Scatter the soaked seeds evenly across the top of the soil. Aim for a density where the seeds slightly touch but don’t overlap significantly.
- Cover the Seeds: Lightly sprinkle a thin layer of soil over the seeds (about ¼ inch) and gently press it down.

Step 4: Creating a Humid Environment
- Cover the Tray: Use a plastic cover or plastic wrap to create a humid environment. This helps to retain moisture and promotes faster germination.
- Place in a Warm Location: Place the tray in a warm, dark area (about 65-75°F or 18-24°C) for optimal germination.
- Check Daily: Check daily to ensure the soil remains moist but not soggy. If necessary, lightly mist with water to maintain humidity.
Step 5: Watering and Providing Light
Once the seeds germinate (usually within 5–7 days), remove the plastic cover and move the tray to a location where it can receive at least 12-16 hours of indirect sunlight daily. If sunlight is scarce, consider using grow lights.
- Watering: Water the shoots gently—using a spray bottle works best. Ensure the soil stays moist but not drenched. Overwatering can cause the seeds to rot.

Step 6: Thinning the Shoots
As your pea shoots grow, they may become crowded. If seedlings are too close together, thin them by snipping off some seedlings at the soil line with scissors. This promotes airflow and ensures that the remaining shoots have enough space to develop properly.
Step 7: Feeding (Optional)
Pea shoots are typically nutrient-rich enough to thrive without additional fertilizers. However, if you want to give them a boost, you can use a diluted, water-soluble organic fertilizer once they reach about 3 inches in height.
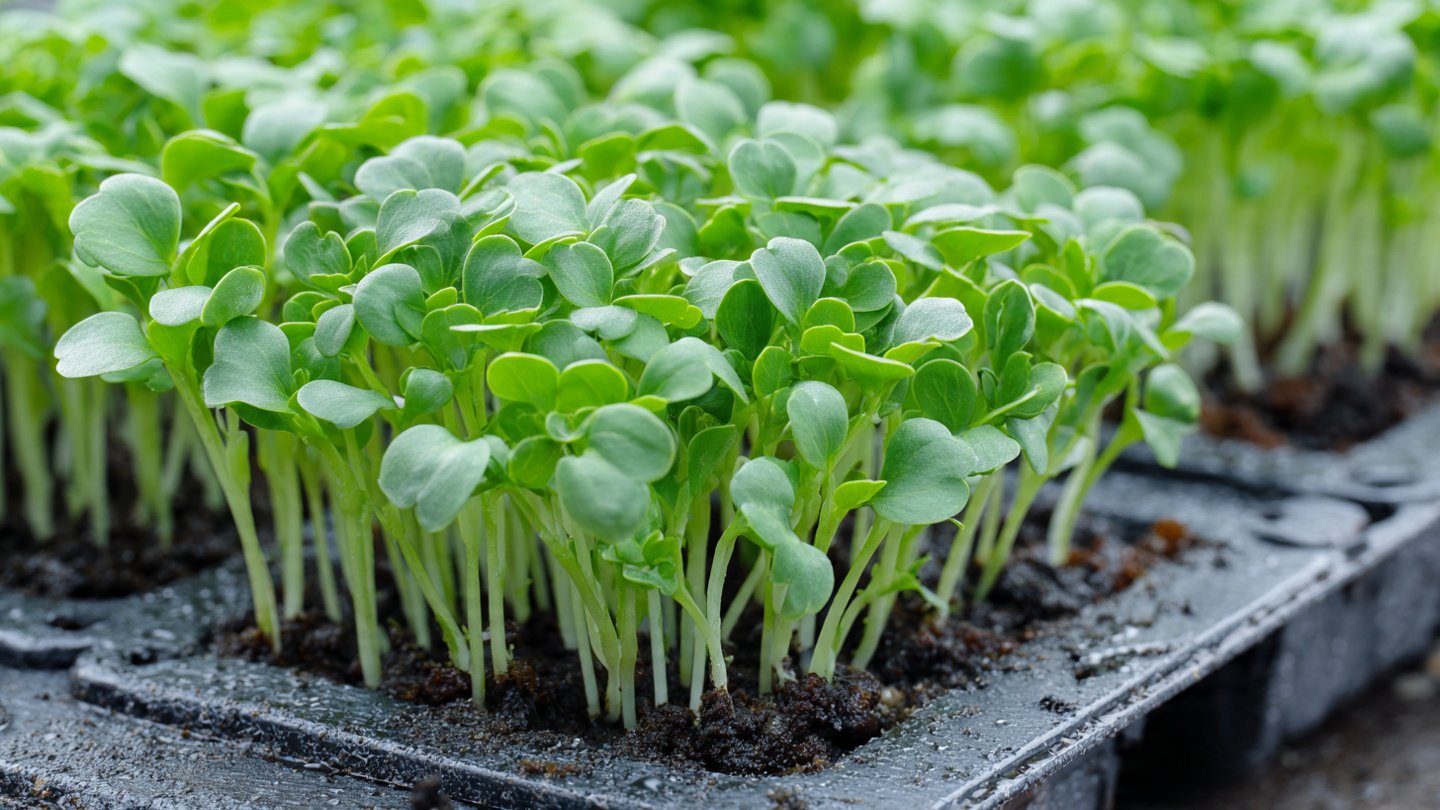
Step 8: Harvesting Pea Shoots
Pea shoots are ready for harvest when they reach about 3-4 inches tall and have developed a few sets of leaves (approximately 2-3 weeks after sowing). Here’s how to harvest:
- Cutting: Use clean scissors to snip off the shoots just above the soil line.
- Harvest Time: Harvest in the morning or late afternoon when the shoots are crisp and hydrated.
- Storing: Rinse the harvested shoots gently, then dry them with a salad spinner or by patting them lightly with a towel. Store them in a container lined with paper towels in the refrigerator for up to a week.

Tips for Success
- Rotate Crops: Succession planting can yield multiple harvests throughout the growing season. Sow a new tray every week to ensure a continuous supply of fresh pea shoots.
- Diversity: Experiment with different varieties of peas to find your favorite flavors and textures.
- Pest Management: Keep an eye out for pests like aphids. If they appear, consider introducing beneficial insects or an organic insecticidal soap.
Troubleshooting Common Issues
- Leggy Shoots: If pea shoots grow tall and leggy, they may be lacking light. Ensure they receive adequate light exposure.
- Mold Growth: Overwatering or poor air circulation can lead to mold. Ensure proper drainage and airflow around the shoots.
- Poor Germination: If seeds fail to germinate, check the freshness of your seeds and ensure they were soaked adequately before planting.
Conclusion
Growing pea shoots in a tray is a rewarding and simple gardening endeavor that offers flavorful greens in no time. With minimal space and effort, even beginners can succeed in cultivating these nutrient-dense shoots. By following the steps outlined above, you can enjoy fresh, homegrown pea shoots year-round. Happy gardening!