Growing pea shoots indoors is a rewarding and simple gardening project for beginners that brings the freshness of homegrown greens right to your kitchen. Not only are pea shoots easy to cultivate, they are nutritious, packed with vitamins, and add a delightful crunch to salads, sandwiches, and smoothies. In this guide, we will cover everything you need to know to successfully grow pea shoots indoors, from selecting the right seeds to harvesting your crop.
Why Choose Pea Shoots?
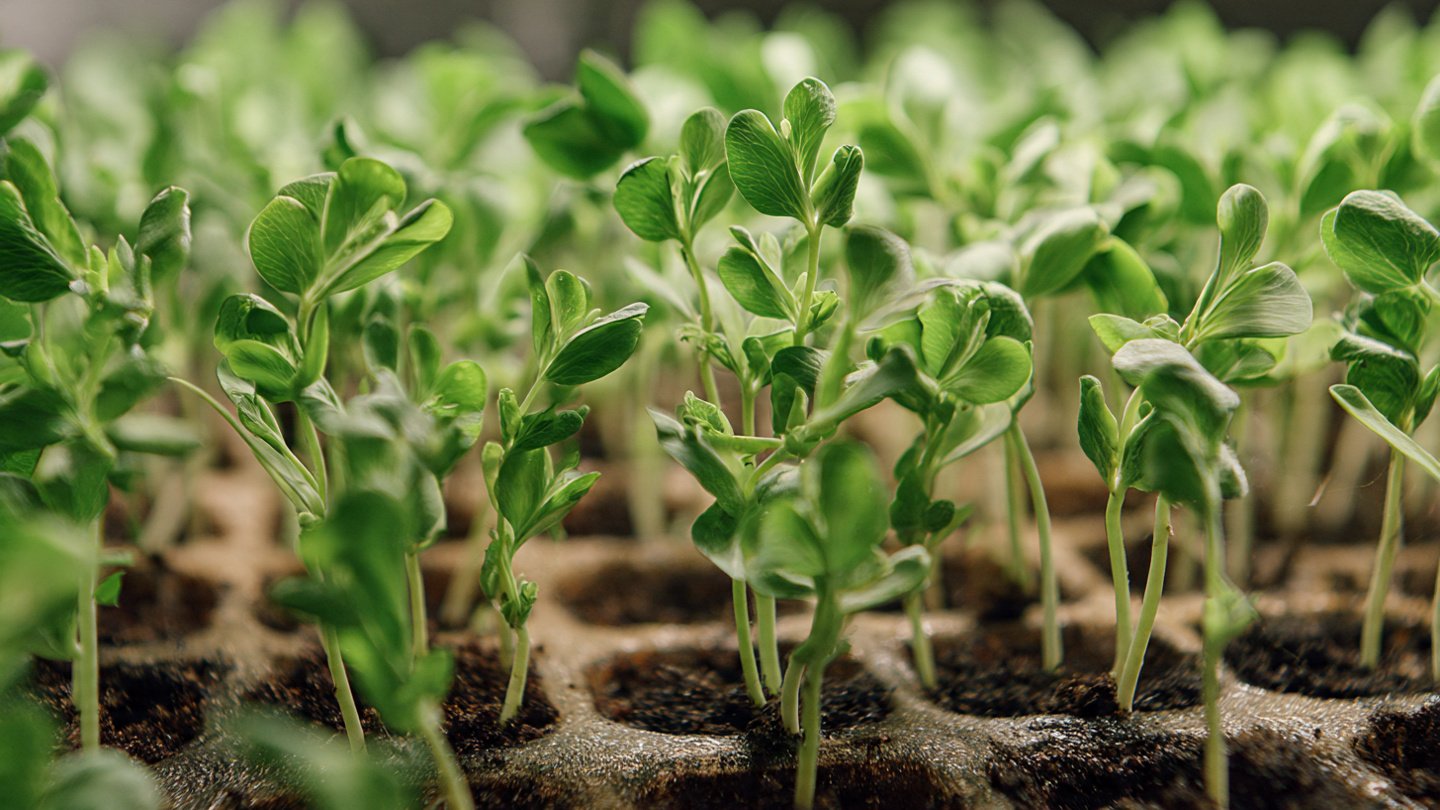
Pea shoots are the tender young leaves and stems of pea plants. They boast a sweet, delicate flavor resembling that of peas but are more versatile in the kitchen. Their nutritional profile is impressive too; they’re an excellent source of vitamins A, C, and K, as well as several B vitamins. They also provide fiber and antioxidants, making them a fantastic addition to a balanced diet.
The best part? Pea shoots are quick to grow, taking as little as 10 days from sowing to harvesting. This makes them ideal for indoor gardening, even in small spaces.
What You’ll Need
Materials
-
Seeds: Look for organic, non-GMO seeds specifically labeled for growing pea shoots, such as snap peas or shelling peas.
-
Growing Medium: A lightweight potting mix or seed starting mix. Avoid garden soil, as it can harbor pests and diseases.
-
Containers: Shallow trays or containers with drainage holes (e.g., seedling trays, plastic food containers, or repurposed baking trays).
-
Light Source: A sunny windowsill that receives at least 4-6 hours of sunlight per day or a grow light if natural light is insufficient.
-
Watering Can: A small watering can or spray bottle that provides gentle watering to avoid saturating the soil.
-
Plastic Cover or Plastic Wrap: To create humidity when germinating seeds.

Optional Materials
- Fertilizer: A diluted liquid fertilizer can boost growth, but it’s often unnecessary for pea shoots due to their natural vigor.
- Spray Bottle: For misting the soil and shoots as needed.
Step-by-Step Guide to Growing Pea Shoots
Step 1: Choose Your Seeds
Selecting the right seeds is crucial for success. High-quality, organic seeds will yield the best results. Common varieties for pea shoots include:

- Sugar Snap Peas: Sweet and crunchy.
- Green Peas: Traditional flavor and texture.
- Snow Peas: Tender and flat with excellent flavor.
Step 2: Prepare Your Containers
Choose your containers and ensure they have proper drainage. If you’re reusing containers, clean them thoroughly to prevent the spread of diseases. Fill each container with your chosen potting mix, leaving about half an inch of space at the top.
Step 3: Sow the Seeds
Sow the seeds densely, about 1-2 inches apart, as pea shoots can grow closely together. Press them down lightly into the soil but do not cover them completely, as they need light to germinate. A light dusting of soil over the seeds is sufficient.
Step 4: Water and Cover
Gently water the soil using a spray bottle or watering can. Make sure the soil is moist but not soggy. To retain moisture, cover the container with plastic wrap or a clear lid, creating a mini-greenhouse effect. This helps maintain humidity levels during germination.
Step 5: Germination

Place your containers in a warm location where they can receive indirect sunlight. Germination typically occurs within 2-7 days. Once the seeds sprout, remove the plastic cover to prevent mold growth and allow air circulation.
Step 6: Light and Temperature
After germination, ensure your pea shoots receive plenty of light. If you’re using a windowsill, rotate the containers every few days for even light distribution. If natural light is not sufficient, consider using grow lights set up on a timer for 12-16 hours a day.
The ideal temperature for growing pea shoots is between 60°F and 70°F (15°C – 21°C). Ensure they are not in drafts or exposed to excessive heat.
Step 7: Watering and Care
Monitor the moisture level of the soil closely. Water your shoots when the top inch of soil begins to dry out. Be careful not to overwater; pea shoots prefer consistently moist but not soggy soil.
As your shoots grow, you may notice they become leggy if they’re not receiving enough light. Ensure they have full access to bright light, which helps them develop sturdy stems and lush leaves.
Step 8: Fertilization (Optional)
While pea shoots can grow without fertilizer, if your shoots appear weak or yellow, a diluted liquid fertilizer can provide a nutrient boost. Use a balanced fertilizer and apply it according to package instructions; usually, once a week during the growing phase is sufficient.

Step 9: Harvesting
Pea shoots are ready to harvest when they are about 3-6 inches tall and have several sets of true leaves. Use scissors to snip them just above the soil line, being careful not to disturb the roots of any remaining shoots.
Step 10: Enjoying Your Harvest
Freshly harvested pea shoots can be added to a wide range of dishes. Toss them into salads for a vibrant crunch, use them as a garnish on soups, or blend them into smoothies for a nutrient boost. The options are endless, and they can be enjoyed raw or lightly sautéed.
Common Challenges and Solutions
-
Mold Growth: This can occur if the environment is too humid. Ensure good air circulation and avoid overwatering.
-
Leggy Shoots: If your shoots become tall and thin, it’s a sign they’re not getting enough light. Increase their exposure to sunlight or adjust your grow lights to be closer to the plants.
-
Pests: Keep an eye out for aphids or other pests. A gentle spray of water often dislodges them. If necessary, use insecticidal soap or neem oil, ensuring it’s safe for edible plants.
Tips for Success

-
Start Small: If you’re new to gardening, begin with one or two containers of pea shoots. This allows you to learn the process without feeling overwhelmed.
-
Experiment: Try different varieties of peas to find your favorites. Each type may have a slightly different taste and texture.
-
Layering: To maximize your harvest, consider staggering your sowing every week or two, which will provide a continuous supply of fresh shoots.
-
Companion Growing: Pairing your pea shoots with other indoor crops like microgreens can optimize your space and provide diverse flavors for your meals.
Conclusion
Growing pea shoots indoors is an accessible and rewarding project for beginners. With minimal investment and effort, you can cultivate a bountiful supply of nutritious greens right in your home. Follow this simple guide—choose your seeds, prepare your containers, provide light and water, and soon you’ll be enjoying the delightful crunch and fresh flavor of homegrown pea shoots. Happy gardening!