Wheatgrass has become increasingly popular over the years, recognized for its health benefits and vibrant flavor. Whether you’re seeking a nutritious addition to your diet or a natural detox, growing your own wheatgrass is a rewarding endeavor that allows you to enjoy its freshness and benefits. This comprehensive guide will take you step-by-step through the process of growing wheatgrass for juice easily.
What is Wheatgrass?
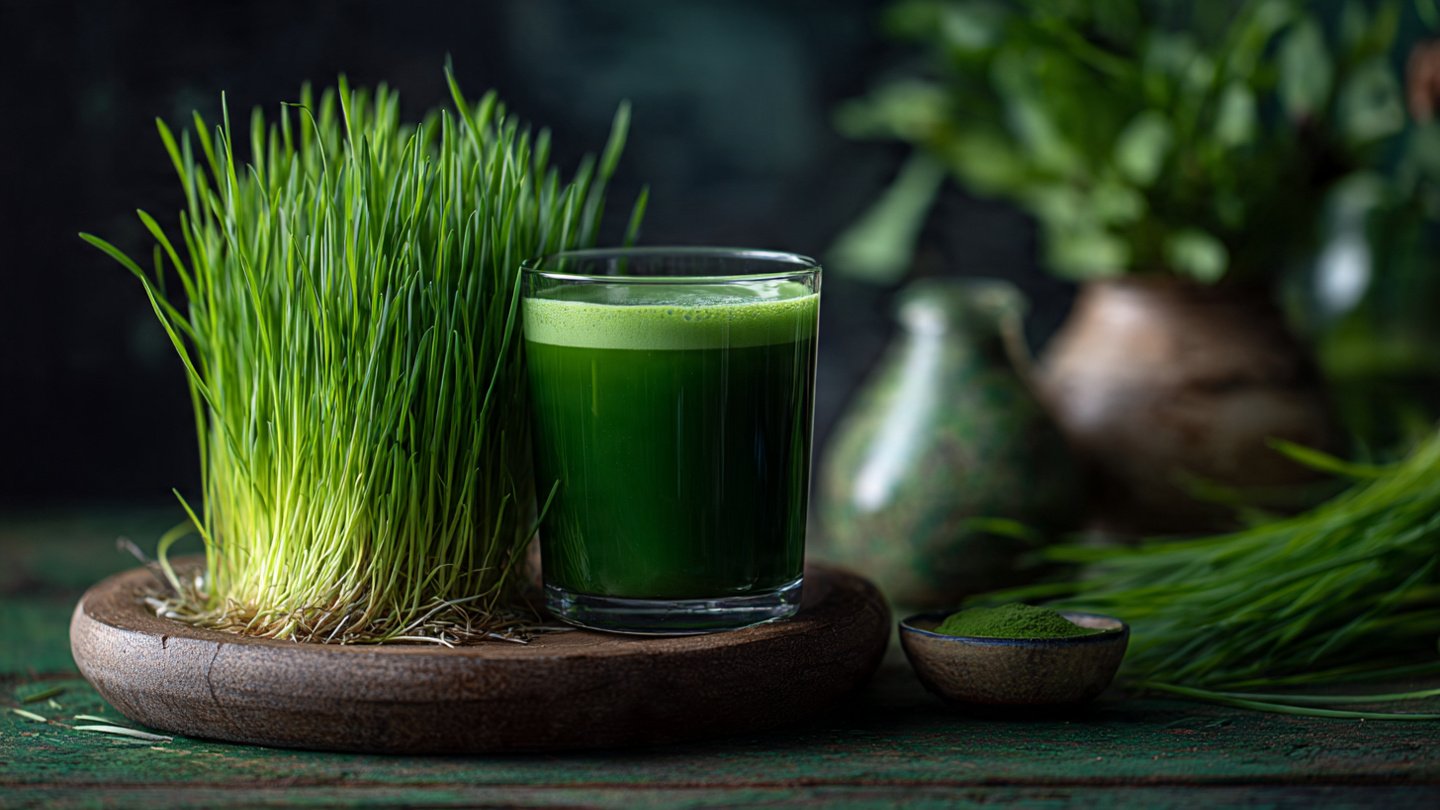
Wheatgrass is the young grass of the wheat plant, Triticum aestivum. It’s considered a superfood due to its high nutrient content, including vitamins A, C, and E, as well as a plethora of minerals and amino acids. Wheatgrass juice is known for its detoxifying properties, energizing effects, and potential to boost overall health.
Benefits of Wheatgrass
Nutrient-Rich
Wheatgrass is packed with essential nutrients, making it a fantastic addition to your diet. It contains:
- High levels of chlorophyll, which aids in detoxification.
- Vitamins A, C, and E, supporting immune function and skin health.
- Antioxidants that help combat oxidative stress.
Potential Health Benefits
Regular consumption may lead to:

- Enhanced energy levels
- Improved digestion
- Boosted immune system
- Potential anti-inflammatory effects
Supplies You’ll Need
Before you start growing wheatgrass, gather the following supplies:
- Wheatgrass Seeds: Purchase organic, non-GMO wheatgrass seeds from a reputable source.
- Containers: Shallow trays or pots with drainage holes will work best.
- Soil: Use a good quality potting mix or seed-starting soil.
- Watering Can or Spray Bottle: For watering.
- Light Source: Direct sunlight or a grow light for indoor growing.
- Plastic Wrap or a humidity dome: To create a greenhouse effect.
- Scissors: For harvesting.
Step 1: Germinating the Seeds
Choosing Your Seeds
Start with high-quality seeds specifically meant for growing wheatgrass. Avoid using grains meant for planting in the field or for animal feed.
Soaking the Seeds
- Rinse: Rinse one cup of wheatgrass seeds under cool, running water to remove any debris.
- Soaking: Transfer the rinsed seeds to a bowl. Cover with enough water so that all the seeds are submerged. Allow the seeds to soak for 8-12 hours.
- Draining: After soaking, drain the seeds in a fine mesh strainer.
Sprouting
- Rinsing: Rinse the seeds again with clean water.
- Setting Up: Place the drained seeds in a jar or bowl, covering it with a breathable cloth or lid.
- Sprouting Conditions: Place in a dark, warm area (around 70-75°F or 21-24°C) for 3-4 days. Be sure to rinse the seeds 2-3 times a day to keep moisture levels optimal.
Checking for Sprouts
After a few days, you should see small sprouts emerging. This indicates that your seeds are ready for planting.
Step 2: Preparing the Growing Medium
Choosing Your Container
Select a container that allows for drainage to prevent water accumulation. Shallow trays about 1-2 inches deep are ideal for planting wheatgrass.

Filling the Container
- Soil: Fill your container with potting soil, leaving about half an inch from the top.
- Moistening: Lightly moisten the soil with water until it’s damp, but not soaking.
Step 3: Planting the Germinated Seeds
- Spreading Seeds: Spread the germinated wheatgrass seeds evenly across the surface of the soil. Aim for a density where the seeds are close but not overlapping to prevent mold growth.
- Covering Seeds: Lightly press the seeds into the soil and cover them with a thin layer of soil (approximately ¼ inch).
- Watering: Mist the soil lightly with water using a spray bottle. Avoid overwatering, as this can cause the seeds to rot.
Step 4: Creating the Ideal Growing Environment
Covering
To create a humid environment, cover the container with plastic wrap or place a humidity dome over it. This will help retain moisture during the germination phase.
Light Exposure
Once you see the first green shoots (usually in 4-7 days), remove the cover and place the container in a location with bright, indirect sunlight. If grown indoors, consider using a grow light.
Step 5: Watering and Maintenance
Regular Watering
Keep the soil consistently moist but not waterlogged. Water lightly daily or every other day, depending on your environment.
Fertilization (Optional)
While not necessary, you can dilute a light nutrient solution (with a balanced, organic fertilizer) and apply it once a week to promote healthy growth.

Step 6: Harvesting Wheatgrass
Timing
Wheatgrass is typically ready to harvest in 7-10 days after planting. You’ll know it’s ready when it reaches 6-8 inches in height, with bright green leaves.
How to Harvest
- Tools: Use clean scissors to cut the wheatgrass just above the soil line.
- Storing Cut Grass: Store harvested wheatgrass in an airtight container in the fridge to maintain freshness. Consume it within a week for the best flavor and nutrient content.
Step 7: Juice Your Wheatgrass
Juicing Equipment
You can use a wheatgrass juicer, masticating juicer, or a regular blender. If using a blender, you may need to strain the juice through a fine mesh cloth or sieve.
Juicing Process
- Prepare the Grass: Rinse the harvested wheatgrass under cool water.
- Juicing: If using a juicer, simply feed the wheatgrass through per the juicer’s instructions. For a blender, chop the grass into smaller pieces, blend it with a small amount of water, and strain.
- Serving: Serve fresh wheatgrass juice on its own, or mix it with other juices or smoothies for added flavor and nutrition.
Step 8: Cleaning Up and Follow-Up
After you’ve harvested, you may want to replant using the same container or start anew. Remove any remnants of old growth and refresh the soil as needed.
You can also experiment with growing wheatgrass in different pots or using different soil mediums to see which works best for your conditions.

Troubleshooting Common Issues
Mold Growth
If you notice any white mold forming, ensure that your wheatgrass is getting adequate air circulation, and avoid overwatering. You can sprinkle a bit of cinnamon on the soil as a natural antifungal agent.
Yellowing Leaves
Yellowing leaves may indicate overwatering or insufficient light. Adjust your watering schedule and ensure your wheatgrass gets plenty of indirect sunlight.
Conclusion
Growing wheatgrass for juice is a simple and rewarding process that can significantly enhance your health and wellness. With just a few supplies and a little patience, you can cultivate your own nutrient-rich wheatgrass at home.
Regularly juicing and enjoying wheatgrass can help detoxify your body, boost your energy, and contribute positively to your overall well-being. Enjoy the fresh taste and vibrant color of your homegrown wheatgrass juice, and relish in the benefits it brings to your life. Happy growing!
