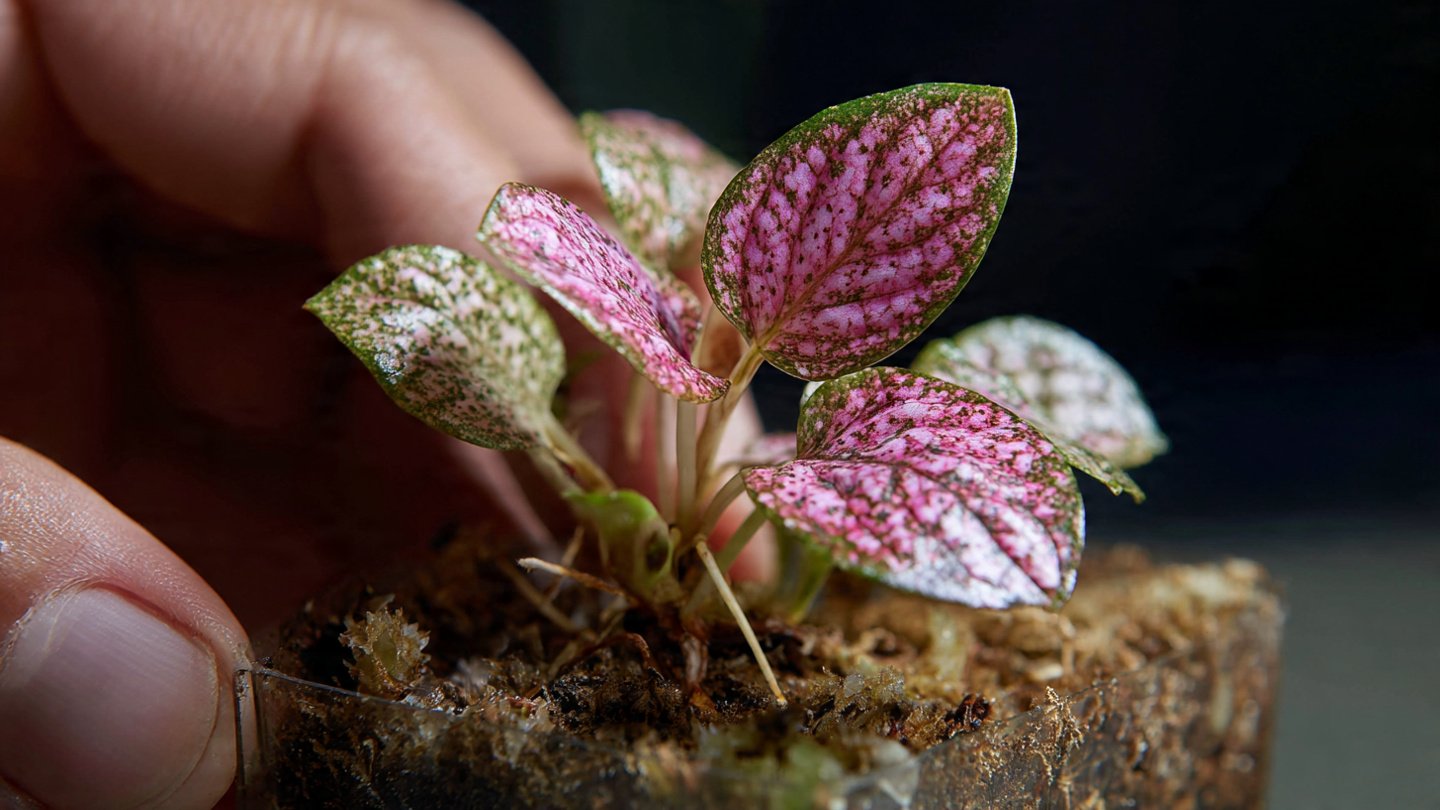
Hypoestes, commonly known as the polka dot plant, is a popular choice among indoor gardening enthusiasts due to its stunning foliage and ease of care. The plant displays unique, colorful leaves marked with patches of pink, white, or red, making it a striking addition to any space. One of the most rewarding aspects of growing hypoestes is propagation, especially through cuttings. This article will guide you through the detailed steps and best practices for successfully propagating hypoestes from cuttings.
Understanding Hypoestes
Before diving into propagation techniques, it’s essential to understand some basic characteristics of hypoestes:
Varieties
- Hypoestes Phyllostachya: The most common type, often characterized by its vibrant color patterns.
- Cultivars: Various cultivars exhibit different color variations, including ‘Splash’ and ‘Pink Splash.’
Growing Conditions
Hypoestes thrives in warm, humid environments. It prefers indirect sunlight but can also adapt to lower-light conditions. Keeping the soil consistently moist but not soggy is crucial for the plant’s overall health.
Why Propagate Hypoestes?
Propagating hypoestes can be beneficial for several reasons:

- Cost-Effectiveness: Instead of purchasing new plants, you can grow your own from existing ones.
- Availability: If you have a specific color variant, propagating allows you to maintain that variety.
- Sharing: You can share your hypoestes with friends and fellow plant enthusiasts.
Step-by-Step Guide to Propagating Hypoestes from Cuttings
Step 1: Selecting the Right Cutting
Choosing the right cutting is crucial for the success of your propagation:
- Healthy Parent Plant: Start with a healthy hypoestes plant. Look for a robust, vibrant specimen free from pests or disease.
- Type of Cutting: Choose a stem cutting that is at least 4-6 inches long. It should have a couple of leaves and ideally a node, which is where the roots will emerge.
Step 2: Preparing the Cutting
- Cutting: Use a sterilized, sharp knife or scissors to cut the stem. Make the cut just below a node.
- Trimming Leaves: If the cutting has several leaves, trim back some of them to reduce water loss. Leave at least two to three leaves on the cutting for photosynthesis.

Step 3: Rooting Medium
Hypoestes cuttings will root best when placed in an appropriate medium:
- Water Propagation: This is a popular method. Place the cutting in a glass of water, ensuring that the node is submerged while the leaves remain above water.
- Soil Propagation: Alternatively, use a well-draining soil mix, such as a combination of potting soil and perlite. This provides better aeration and drainage.
Step 4: Placing the Cutting
- Water Method: Place the glass in a warm, bright area but away from direct sunlight. Change the water every few days to prevent stagnation.
- Soil Method: Plant the cutting in a small pot filled with moist soil. Water gently to settle the soil around the cutting.
Step 5: Creating Humidity
Maintaining high humidity helps stimulate root growth:
- Plastic Bag Method: If rooting in soil, you can place a plastic bag over the pot to create a mini greenhouse effect. Ensure it doesn’t touch the leaves, and open it occasionally to prevent mold.
- Misting: Regular misting can also help maintain humidity levels around the cutting.

Step 6: Wait for Roots to Develop
Roots typically take about 2-3 weeks to develop, but this can vary depending on environmental conditions. Keep an eye on the cutting:
- Water Method: You’ll see roots developing in the water. Once they reach about 2-3 inches, you can transfer the cutting to soil.
- Soil Method: You won’t see the roots, but you’ll know they’re developing when new growth appears or when you tug gently on the cutting and feel resistance.
Step 7: Transplanting
Once the cutting has developed a robust root system, it’s time to transplant:
- Choosing a Pot: Select a pot that has drainage holes. This prevents waterlogging, which could rot the roots.
- Potting Mix: Use a well-draining potting mix similar to what you used for rooting.
- Transplanting: Carefully remove the cutting from the water or soil, taking care not to damage the delicate roots. Plant it in the new pot, top with soil, and lightly press down.

Step 8: Post-Transplant Care
After transplanting, provide the right care to help your plant adjust:
- Watering: Water thoroughly after planting, then allow the top inch of soil to dry before watering again. This prevents overwatering.
- Light: Keep the plant in bright, indirect sunlight to encourage stable growth.
- Temperature and Humidity: Regularly check humidity and temperature. Hypoestes thrives in warm, humid conditions.
Step 9: Monitor Growth
As your hypoestes begins to grow, keep an eye on it:
- Pest Control: Regularly check for pests like aphids or spider mites. If found, treat with insecticidal soap or neem oil.
- Fertilization: After about a month, use a balanced liquid fertilizer every 4-6 weeks to promote growth during the growing season (spring and summer).
Troubleshooting Common Issues
While propagating hypoestes is relatively straightforward, issues may arise. Here are some common problems and how to address them:

-
Wilting Leaves: This can indicate underwatering or overwatering. Check the soil moisture and adjust your watering schedule accordingly.
-
Yellowing Leaves: This may result from over-fertilization or insufficient light. Reduce fertilizer application and ensure the plant is receiving adequate light.
-
Rotting Cuttings: This is often due to overwatering or poor drainage. Make sure your pot has drainage holes and that you’re not watering too frequently.
Conclusion
Propagating hypoestes from cuttings is not only a cost-effective way to expand your collection, but it also offers a satisfying gardening experience. With the right steps and conditions, you can enjoy the beauty of hypoestes while successfully growing new plants. Remember to select healthy cuttings, maintain optimal humidity, and monitor growth for the best results.
By following this guide, you can ensure that your propagation efforts yield vibrant, healthy hypoestes plants that will brighten up your indoor space for years to come. Happy gardening!