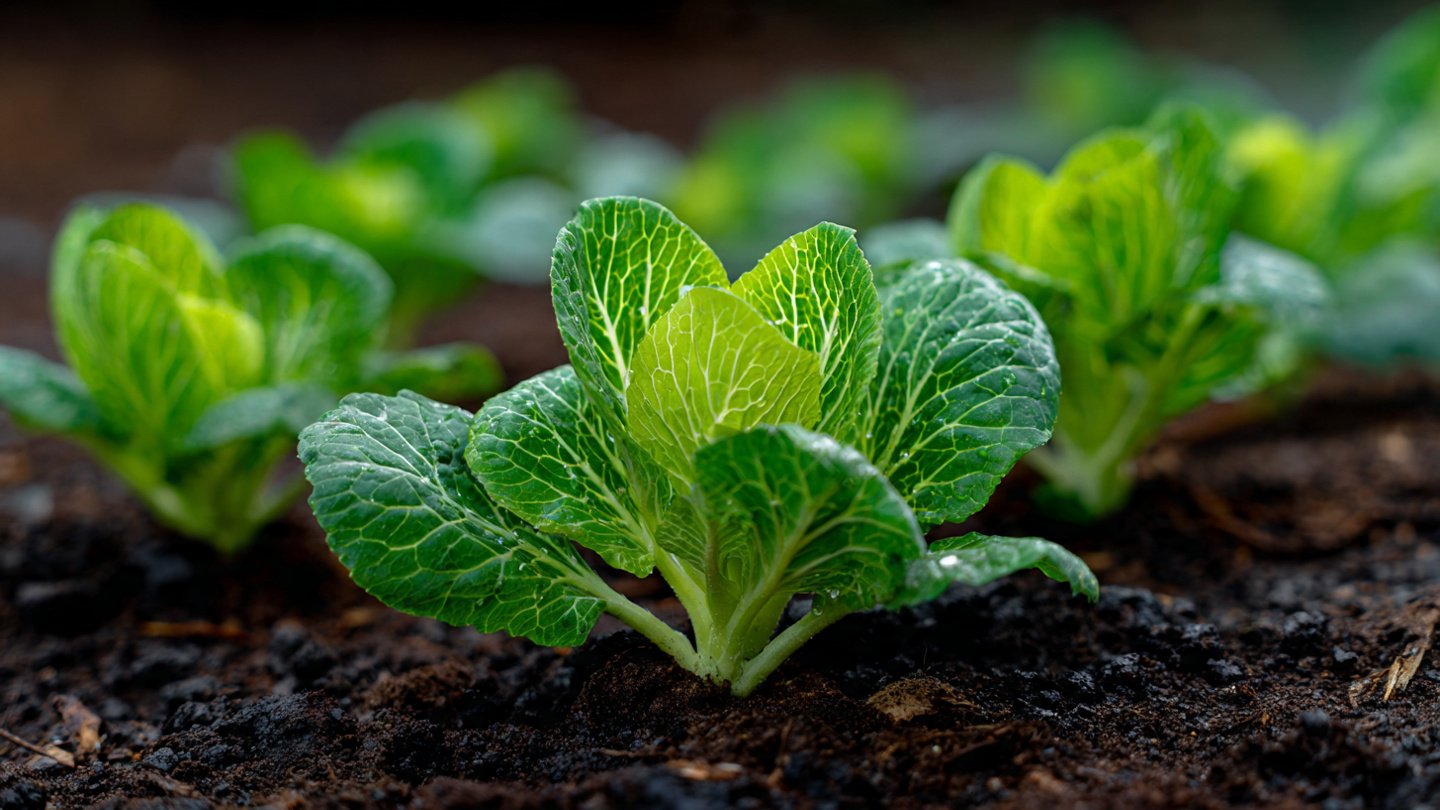
Napa cabbage, also known as Chinese cabbage, is a versatile and delicious vegetable widely used in Asian cuisine. Its tender leaves and slightly sweet flavor make it an excellent addition to salads, stir-fries, and soups. For many gardeners, the quest to grow their own vegetables is both rewarding and fulfilling. If you’re interested in cultivating Napa cabbage mini (a smaller variety), you’ll be pleased to know that growing this vegetable is not only possible but also quite simple. In this article, we’ll explore the benefits of growing Napa cabbage mini, its growing conditions, step-by-step cultivation techniques, and tips for care to ensure a bountiful harvest.
The Benefits of Growing Napa Cabbage Mini
-
Space Efficiency: Unlike full-sized Napa cabbage, the mini variety takes up significantly less space, making it ideal for small gardens, container gardening, or urban gardening setups.
-
Fast Growth: Napa cabbage mini typically matures more quickly than its larger counterpart, allowing for multiple harvests in a single growing season.
-
Flavor and Versatility: The mild flavor of Napa cabbage mini allows it to be used in a variety of dishes, ranging from kimchi to salads, slaws, and wraps.
-
Nutritional Value: Napa cabbage is rich in vitamins C and K, as well as antioxidants, making it a healthy choice for your diet.

Ideal Growing Conditions
Before you start planting your Napa cabbage mini, it’s important to understand the conditions that will promote healthy growth:
-
Climate: Napa cabbage thrives in cooler climates and grows best in spring or fall. It can tolerate light frosts, but extreme heat can cause it to bolt (flower and go to seed), leading to a bitter taste.
-
Soil: Well-draining, fertile soil with a pH level between 6.0 and 7.5 is ideal for Napa cabbage mini. Incorporate organic matter, such as compost, to improve soil quality.
-
Sunlight: The plant requires 6–8 hours of direct sunlight per day. Ensure your growing area gets adequate sunlight, especially during the cooler seasons.
Step-by-Step Guide to Cultivating Napa Cabbage Mini

1. Choose the Right Seeds
You can find Napa cabbage mini seeds at garden centers or online retailers. Look for varieties specifically labeled “mini” or “baby” for the best results. Make sure to check for seed quality; often, organic seeds will lead to healthier plants.
2. Prepare the Soil
Start by tilling the soil to a depth of at least 12 inches. remove weeds and rocks. Amend the soil with organic compost to add nutrients. This not only improves soil texture but also provides essential nutrients for young plants.
3. Sowing Seeds
You can sow seeds directly into the soil or start them indoors. If starting indoors, use seed trays and transplant seedlings outdoors once they are 3–4 inches tall.
- Direct Sowing: Plant seeds about ¼ to ½ inch deep and 12 inches apart in rows. Water gently.
- Transplanting: Space seedlings 12 inches apart in rows once they are sufficiently mature for transplanting.

4. Watering
Keep the soil consistently moist but not soggy. Use a gentle spray to avoid displacing seeds. Napa cabbage mini prefers even moisture, especially during germination, which typically takes about 7-14 days.
5. Thinning Seedlings
Once the seedlings have developed at least two true leaves, thin them to avoid overcrowding. This allows each plant to receive ample sunlight and nutrients.
6. Fertilization
Apply a balanced fertilizer once plants are 4–6 weeks old. A slow-release organic fertilizer is a great option. Follow the instructions on the package for application rates.
Maintenance Tips for Healthy Growth
1. Pest Control
Napa cabbage mini can attract pests like aphids, cabbage worms, and slugs. Monitor your plants regularly and take action as needed. You can use:

- Neem Oil: A natural pesticide effective against many garden pests.
- Diatomaceous Earth: Sprinkle around the base of plants to deter slugs and caterpillars.
- Row Covers: These can protect young plants from pests while allowing sunlight and moisture to pass through.
2. Disease Management
Ensure your plants do not become overcrowded, as this can lead to fungal diseases such as downy mildew. Rotate crops each season, and avoid planting other brassicas in the same location to prevent disease buildup in the soil.
3. Watering Routine
Monitor the moisture levels in the soil. If it begins to dry out, especially in warmer months, increase your watering frequency. Mulching around the plants can help retain soil moisture.
Harvesting Napa Cabbage Mini

Napa cabbage mini typically reaches maturity in about 50–70 days after planting, depending on the variety. Harvest when the heads are firm and the leaves are still vibrant in color. Use a sharp knife to cut the head at the base, leaving a few outer leaves intact. This can promote further growth and subsequent harvests.
Storing Your Harvest
After harvesting, rinse the cabbage under cool water to remove any soil. Store Napa cabbage mini in a plastic bag in the refrigerator, where it can last for up to two weeks.
For longer storage, consider blanching and freezing the cabbage. This method preserves its nutritional value and flavor while extending its shelf life.
Conclusion
Growing Napa cabbage mini is a rewarding endeavor that anyone can undertake, regardless of experience. With the right conditions and care, you can cultivate this flavorful vegetable in your garden or on your balcony. By following the steps outlined in this article, you’ll be well on your way to enjoying delicious homegrown Napa cabbage in your meals.
Whether you’re a seasoned gardener or a newbie, now is the perfect time to start your Napa cabbage mini growing journey. Engage in the process, relish the satisfaction of nurturing plants, and savor the fresh taste of freshly harvested Napa cabbage in your favorite dishes. Happy gardening!