Wheatgrass, the young grass of the wheat plant (Triticum aestivum), is celebrated for its nutritional benefits. Packed with vitamins, minerals, amino acids, and antioxidants, it is often hailed as a superfood. Many health enthusiasts consume wheatgrass in the form of juice, shots, or powdered supplements. Cultivating it at home is not only easy but also rewarding. In this guide, we’ll explore the benefits of wheatgrass, the materials you’ll need, and the step-by-step process for growing it effortlessly.
The Nutritional Benefits of Wheatgrass
A Nutrient Powerhouse
Wheatgrass is rich in:
- Vitamins: High levels of vitamins A, C, E, and K.
- Minerals: Contains calcium, iron, magnesium, and potassium.
- Chlorophyll: Often referred to as “liquid sunshine,” chlorophyll is known for its detoxifying properties.
- Amino Acids: Essential building blocks for proteins.
- Antioxidants: Protects cells from oxidative stress.
Health Benefits
- Detoxification: Wheatgrass helps in eliminating toxins from your body.
- Boosted Immunity: Regular consumption can enhance your immune response.
- Improved Digestion: Supports gut health and regularity.
- Increased Energy Levels: Many report feeling more energized after adding wheatgrass to their diet.
- Healthy Skin: Antioxidants present in wheatgrass can improve skin health and vitality.
- Weight Management: Low in calories and high in nutrients, it can assist in weight control by promoting satiety.

Materials Needed for Growing Wheatgrass
Before you begin, gather the necessary supplies:
- Wheatgrass seeds: Look for organic seeds to ensure you’re starting with a high-quality product.
- Containers: Shallow trays (such as seedling trays or small pots) with drainage holes work well.
- Soil: Use organic potting soil that retains moisture yet drains well.
- Water: Ideally, filtered or distilled water to avoid chemicals that may inhibit growth.
- Light source: Natural sunlight is best, but grow lights can be used if you’re short on light.
Step-by-Step Guide to Growing Wheatgrass
Step 1: Soaking the Seeds
Start by soaking the wheatgrass seeds in water to encourage germination.
- Place about 2 cups of seeds in a bowl.
- Fill the bowl with water, making sure the seeds are fully submerged.
- Allow them to soak for 8-12 hours. This process activates the seeds and helps them sprout more efficiently.

Step 2: Preparing the Containers
While the seeds are soaking, prepare your growing containers.
- If using trays or pots, fill them with organic potting soil. Make sure to leave about half an inch from the top.
- Lightly press the soil down to eliminate air pockets but don’t compact it too much.
- Mist the soil with water until it’s evenly moist but not saturated.
Step 3: Planting the Seeds
Once the seeds have soaked, it’s time to plant them.
- Drain the soaked seeds using a fine mesh strainer.
- Evenly scatter the seeds over the surface of the moistened soil. Aim for a density where the seeds slightly overlap but are not clumped together.
- Gently cover the seeds with a thin layer of soil, about ¼ inch thick. This helps protect the seeds during germination.
- Mist the surface again lightly with water.
Step 4: Watering and Covering

After planting, it’s crucial to maintain moisture while the seeds germinate.
- Cover the containers with a damp cloth or plastic wrap to retain moisture.
- Place the containers in a dark, warm location (around 70-75°F or 21-24°C) to encourage germination.
Step 5: Light Exposure
Once the seeds have germinated (typically in 3-5 days), it’s important to introduce them to light.
- Remove the cover and move the trays to a sunny window or under grow lights.
- Ensure they receive around 12-16 hours of light per day.
Step 6: Watering
Continue to keep the soil moist but not soggy:
- Water daily, preferably using a spray bottle to avoid displacing the seedlings.
- If you notice yellowing, it might indicate too much water, so adjust accordingly.
Step 7: Harvesting

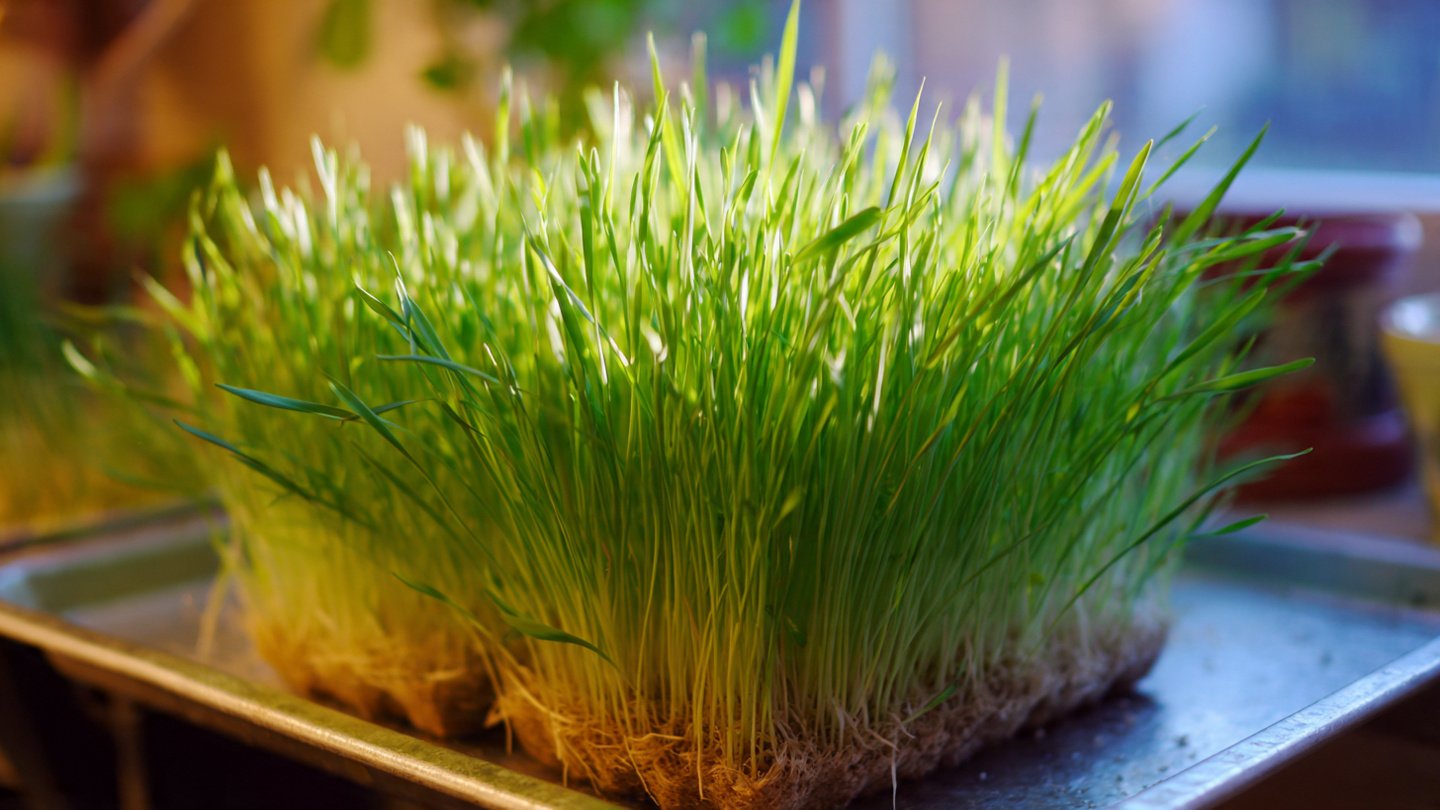
Wheatgrass is typically ready to harvest in 7-14 days after sowing.
- Check for growth: The grass should be around 6-8 inches tall and vibrant green.
- Use scissors to cut the grass just above the soil line. Harvesting in the morning is ideal as the nutritional content is at its peak.
- You can use freshly harvested wheatgrass immediately, freeze it for later use, or juice it.
Maintaining Wheatgrass
Storage Tips
If you aren’t using your wheatgrass immediately, consider these tips to prolong freshness:
- Refrigeration: Store freshly cut wheatgrass in a sealed container in the refrigerator, where it can last for a week or more.
- Freezing: For longer-term storage, try freezing the wheatgrass. Blend it with a small amount of water and pour it into ice cube trays. Once frozen, transfer the cubes to a sealed bag.
Continuous Growth
If you want a continuous supply of wheatgrass:
- Stagger planting every few days so you can harvest in rotations.
- Use different trays for sowing to maintain a consistent supply.

Common Challenges and Solutions
Problem: Seeds Not Germinating
- Solution: Ensure you are soaking seeds long enough. Check if the soil is too dry or too wet, and adjust your watering routine accordingly.
Problem: Weak or Yellowing Grass
- Solution: This can be a sign of insufficient light. Increase light exposure or adjust the distance of your grow lights.
Problem: Mold Growth
- Solution: Overwatering can lead to mold. Ensure good air circulation and avoid keeping the soil too damp.
Conclusion
Growing wheatgrass at home is an effortless task that offers immense health benefits. With minimal materials and a little patience, you can cultivate this nutritious green superfood in your kitchen or garden. Incorporating wheatgrass into your diet is an excellent way to enhance your overall health, boost your energy levels, and detoxify your body. Whether enjoyed fresh, juiced, or frozen, your homemade wheatgrass will be a vibrant addition to your daily regimen. So, roll up your sleeves, and start your wheatgrass journey today for a healthier tomorrow!