Watercress (Nasturtium officinale) is a nutrient-rich leafy green that adds a peppery flavor to salads, sandwiches, and various dishes. This perennial plant thrives in aquatic environments and can be grown both in water and soil, making it an attractive crop for gardeners. However, to achieve a perfect crop of watercress naturally, one must consider various factors, from soil preparation to harvest techniques. This article will explore the best practices for cultivating watercress without the use of synthetic chemicals, ensuring a bountiful and sustainable crop.
Understanding Watercress
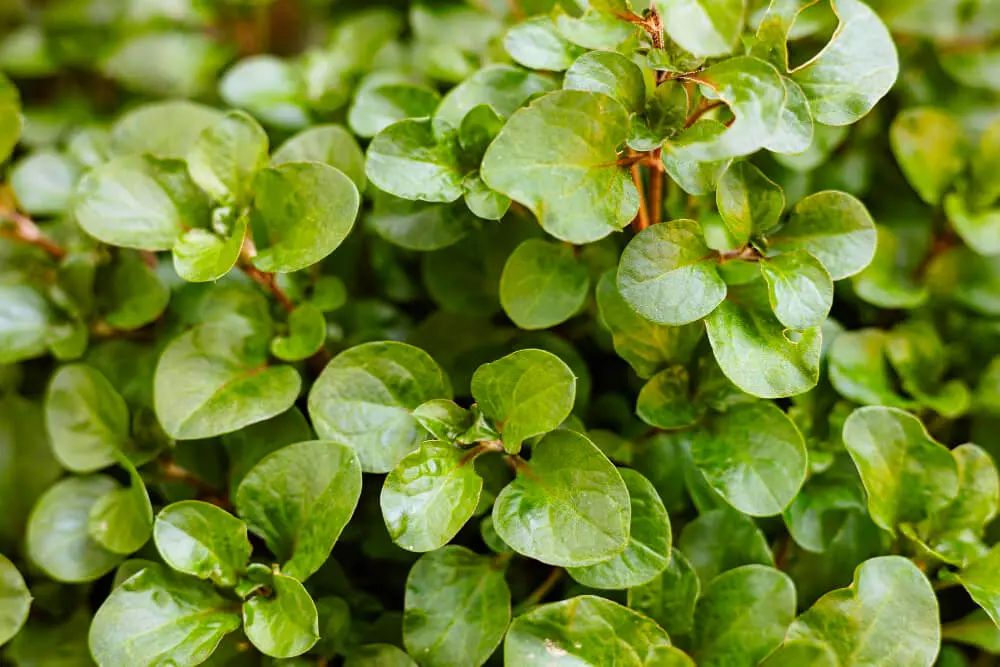
Before diving into cultivation techniques, it’s essential to understand what watercress is. Native to Europe and Asia, watercress is a member of the cruciferous family, related to mustard and cabbage. It’s known for its high vitamin C content, iron, and antioxidants, making it a popular addition to diets focused on health.
Watercress can be grown in various environments, but it naturally prefers moist, nutrient-rich soil or shallow running water. That makes it versatile for both traditional gardening and hydroponics.
Preparing for Cultivation
1. Choosing the Right Location
The first step in growing watercress is selecting an ideal location. Watercress prefers partial shade to full sun, ensuring that you avoid scorching its delicate leaves. If you live in a particularly hot climate, consider planting it in a location with afternoon shade to prevent wilting.

2. Soil Preparation
While watercress can thrive in water, if you’re opting for soil cultivation, the right soil type is crucial. Here’s how to prepare:
- Soil Type: Watercress favors loamy and sandy soils that are rich in organic matter. Conduct a soil test to ensure you have fertile ground, ideally with a pH between 6.0 and 7.0.
- Amendment: Incorporate organic matter, such as compost, well-rotted manure, or leaf mold, to enrich the soil. This enhancement not only provides nutrients but also improves drainage.
- Tilling: Tilling the soil to a depth of at least 12 inches helps aerate it and promotes root growth. Ensure the soil is moist but not waterlogged.
Planting Watercress
1. Propagation
Watercress can be propagated in two primary ways: from seeds or cuttings.
- Seeds: To sow seeds, create shallow furrows approximately 1 inch apart. Lightly cover the seeds with soil or compost, but do not bury them too deeply, as they require light to germinate.
- Cuttings: If you have access to watercress plants, cut a healthy stem just below a leaf node and place it in water. Roots will develop in a few days, and once they grow to about 2 inches, you can transplant them into your prepared soil or water source.
2. Spacing
To ensure proper growth and air circulation, space your watercress plants about 10 to 12 inches apart. This spacing allows the plants to thrive without competing for nutrients and moisture.
Watering and Maintenance
1. Moisture Levels
Watercress is a moisture-loving plant and thrives in consistently damp conditions. If growing in soil, check the moisture level regularly and water as needed. For plants in water, ensure the water level is maintained, ideally between 2 to 3 inches.

2. Mulching
Applying a layer of organic mulch around the base of the plants can help retain moisture, suppress weeds, and regulate soil temperature. Materials like straw, grass clippings, or shredded leaves work well for mulching.
3. Weeding
Regularly check for weeds that can compete with watercress for nutrients and water. Hand-pulling is the best method of weed control, especially when the plants are young and delicate. Avoid using synthetic herbicides, as they can disrupt the natural environment.
4. Pest Management
Watercress is generally resilient, but it can attract pests such as aphids and flea beetles. Use natural pest management strategies, such as:
- Beneficial insects: Introduce ladybugs and lacewings to help control aphid populations.
- Neem oil: A natural pesticide derived from neem trees, neem oil is effective against various pests without harming beneficial creatures.
- Companion planting: Consider planting marigolds or other companion plants nearby to deter pests.
Fertilization
Watercress is a fast-growing plant and may require periodic fertilization to ensure optimal growth. Use natural fertilizers to achieve this:

- Fish Emulsion: A liquid fertilizer rich in nitrogen, fish emulsion helps promote leafy growth. Dilute it with water according to package instructions and apply every 4 to 6 weeks.
- Compost Tea: Brew a mixture of compost in water to create a nutrient-rich tea that can be used for watering. This natural solution provides essential nutrients and helps improve the soil.
Harvesting Watercress
Knowing when and how to harvest watercress is pivotal for maximizing yield while ensuring sustainability.
1. Timing
Watercress can typically be harvested anywhere from 4 to 6 weeks after planting, depending on growing conditions. The best time to harvest is in the morning, just after the dew has dried, to preserve the freshness and flavor of the leaves.
2. Cutting Method
When harvesting, use sharp, clean scissors or shears to cut the stems just above the roots, leaving the roots intact. This practice encourages regrowth, allowing you to harvest multiple times over the growing season. Avoid tearing or pulling the plants, as this can damage the roots and hinder future growth.
3. Storage
To ensure your harvested watercress stays fresh, store it in a moist paper towel inside a plastic bag in the refrigerator. Consuming your watercress within a week will ensure the best flavor and nutritional value.

Troubleshooting Common Issues
1. Yellow Leaves
If you notice yellowing leaves, this could indicate overwatering or nutrient deficiency. Monitor your watering routine and consider applying a natural fertilizer.
2. Stunted Growth
Stunted growth may be due to insufficient light or crowded planting. Ensure your watercress is receiving adequate light and space.
3. Root Rot
Root rot can occur if the plants are growing in overly saturated conditions. Make sure that drainage is sufficient and avoid waterlogging the soil.
Sustainable Practices
Growing watercress naturally not only provides a fresh crop for your kitchen but also promotes sustainable agricultural practices. Consider these tips for more eco-friendly cultivation:

- Compost: Create your compost from kitchen waste to enrich your soil naturally.
- Organic Practices: Always opt for organic seeds and fertilizers to support a healthy ecosystem.
- Water Conservation: Use rainwater for irrigation or set up a greywater system to recycle water.
Conclusion
Achieving a perfect crop of watercress naturally is a rewarding endeavor that requires attention to the plant’s specific needs. From soil preparation to mindful harvesting, every step plays a crucial role in fostering a healthy and bountiful crop. By adhering to organic practices and understanding the unique characteristics of watercress, you can grow this delicious and nutritious plant while contributing positively to the environment. Whether you’re a seasoned gardener or a novice, cultivating watercress will enrich your culinary experiences and promote a sustainable lifestyle. Happy gardening!