Building a multi-level plant stand can be a rewarding DIY project that not only enhances your indoor or outdoor space but also allows you to showcase your favorite plants. This guide will walk you through the necessary steps to create a beautiful and functional multi-level plant stand from scratch. You’ll learn about planning, materials, construction, and finishing touches to make your plant stand a success.
Step 1: Planning Your Plant Stand
Before you start gathering materials and tools, it’s crucial to plan your design. Consider the following elements:
- Dimensions: Measure the space where you intend to place the plant stand. This will help you determine the height, width, and depth of the stand.
- Number of Levels: Decide how many levels (shelves) you want. This will depend on the number of plants you have and the types of plants as some may require more sunlight.
- Style: Choose a style that matches your existing decor (modern, rustic, minimalist, etc.).
- Weight Capacity: Consider the weight of your plants and the materials you’ll be using to ensure stability and durability.

Step 2: Gathering Materials
Once you have a solid plan, it’s time to gather your materials. Here’s what you’ll need:
- Wood: Cedar, pine, or plywood are excellent choices for a plant stand.
- Screws and Wood Glue: These will hold the structure together securely.
- Sandpaper: For smoothing rough edges.
- Paint or Wood Stain: To finish your stand, provide a protective layer, and enhance appearance.
- Tools: You will need a saw, drill, measuring tape, level, and a screwdriver.
Step 3: Cutting the Wood
Now that you have your materials, it’s time to cut the wood according to your design. Follow these steps:

- Using a measuring tape, mark your wood pieces according to the dimensions you planned.
- Make sure to cut all the pieces carefully, ensuring straight and smooth edges using a saw.
- Use a saw guide or a square to ensure accurate cuts for a professional finish.
Step 4: Assembling the Base
The base will provide stability to your plant stand. Here’s how to assemble it:
- Begin with the bottom frame using larger wood pieces. Cut two long pieces for the sides and two shorter pieces for the front and back.
- Connect the sides and the front/back using wood screws and wood glue for added strength, ensuring the base is level.
- Consider adding cross supports or diagonal braces for extra stability.

Step 5: Attaching the Shelves
After constructing the base, it’s time to attach the shelves:
- Measure and mark the height of each shelf on the side supports. Make sure each level is evenly spaced.
- Use a level to ensure that each shelf is installed horizontally.
- Secure the shelves to the side supports using screws and glue. Ensure they are stable and can support weight.
Step 6: Finishing Touches
Once the structure is assembled, it’s time for the finishing touches:

- Sanding: Smooth out any rough edges with sandpaper to prevent splinters.
- Staining or Painting: Apply your desired finish to protect the wood and improve aesthetics. Let it dry completely before placing any plants.
- Sealing: Consider applying a wood sealant if you plan to use your stand outdoors.
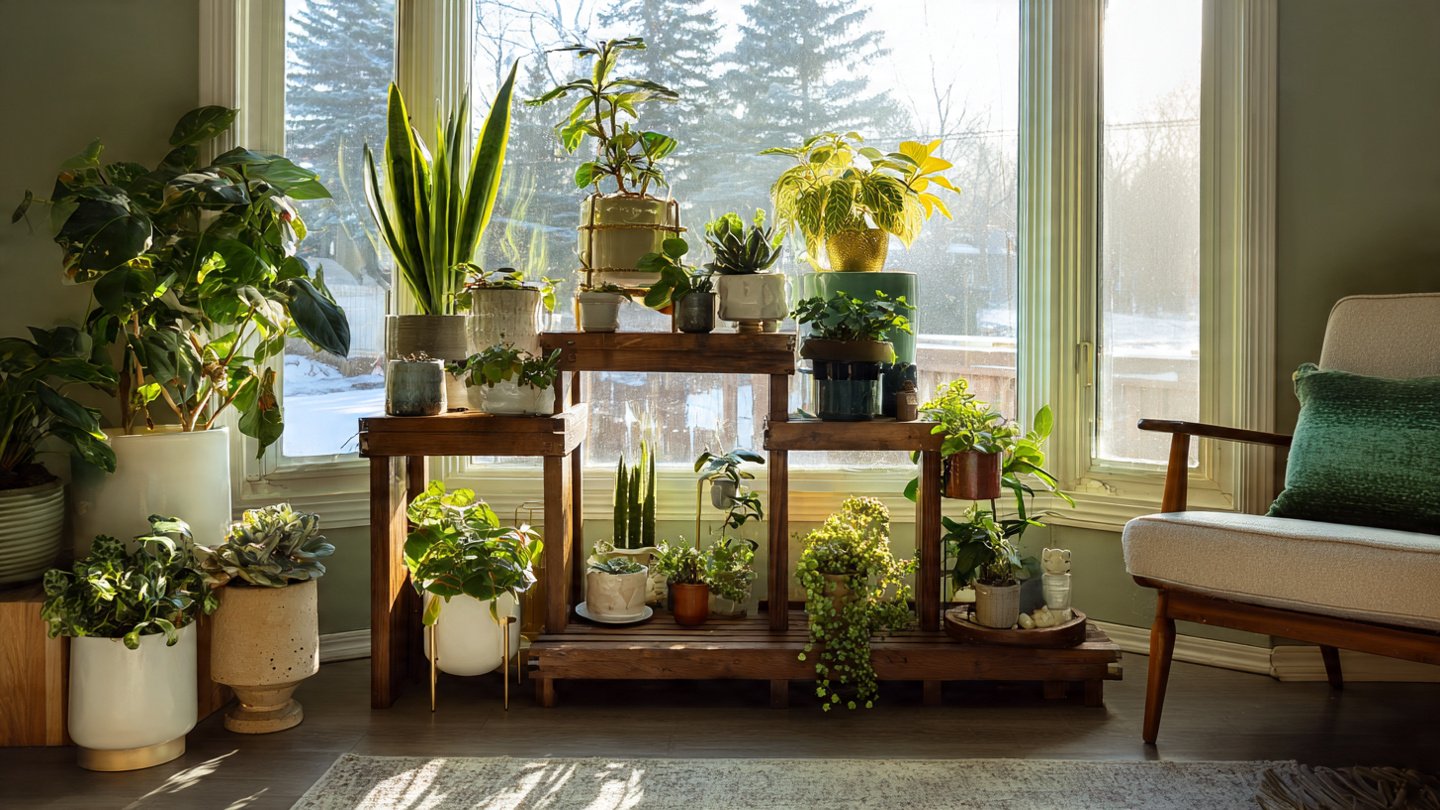
Step 7: Placing Your Plants
Your multi-level plant stand is now ready! Arrange your plants on the shelves according to their sunlight and watering needs. This allows you to create a visually appealing display while ensuring that each plant thrives.
Conclusion
Building a multi-level plant stand is a DIY project that can be both functional and beautiful. By carefully planning, gathering the necessary materials, and following the assembly steps, you can create a custom stand that fits your space and style perfectly. Not only will this project enhance your home decor, but it will also provide a dedicated space for your beloved plants to flourish.
FAQs

- How long will it take to build the plant stand?
The duration of the project depends on your experience and the complexity of the design. Expect it to take anywhere from a few hours to a full day. - What is the best type of wood to use?
Cedar and pine are great choices due to their durability and resistance to moisture. Plywood is also a good option if you’re looking for something more affordable. - Can I paint the plant stand?
Absolutely! Painting or staining not only enhances the look but also provides a protective layer against moisture. - How do I prevent the shelves from bowing under weight?
Use thicker wood for the shelves and ensure that they are supported properly using brackets or beams underneath. - Is it easy to disassemble the plant stand if needed?
If you use screws instead of nails, you can easily take apart and reassemble the stand if necessary.