Creating a garden path using old bricks not only offers a sustainable option for landscaping but also brings a timeless elegance to your outdoor space. The herringbone pattern, characterized by its zigzag design, enhances visual interest and is an excellent way to utilize reclaimed materials. In this article, we will guide you through the steps needed to transform old bricks into a stunning herringbone garden path.
Understanding the Herringbone Pattern
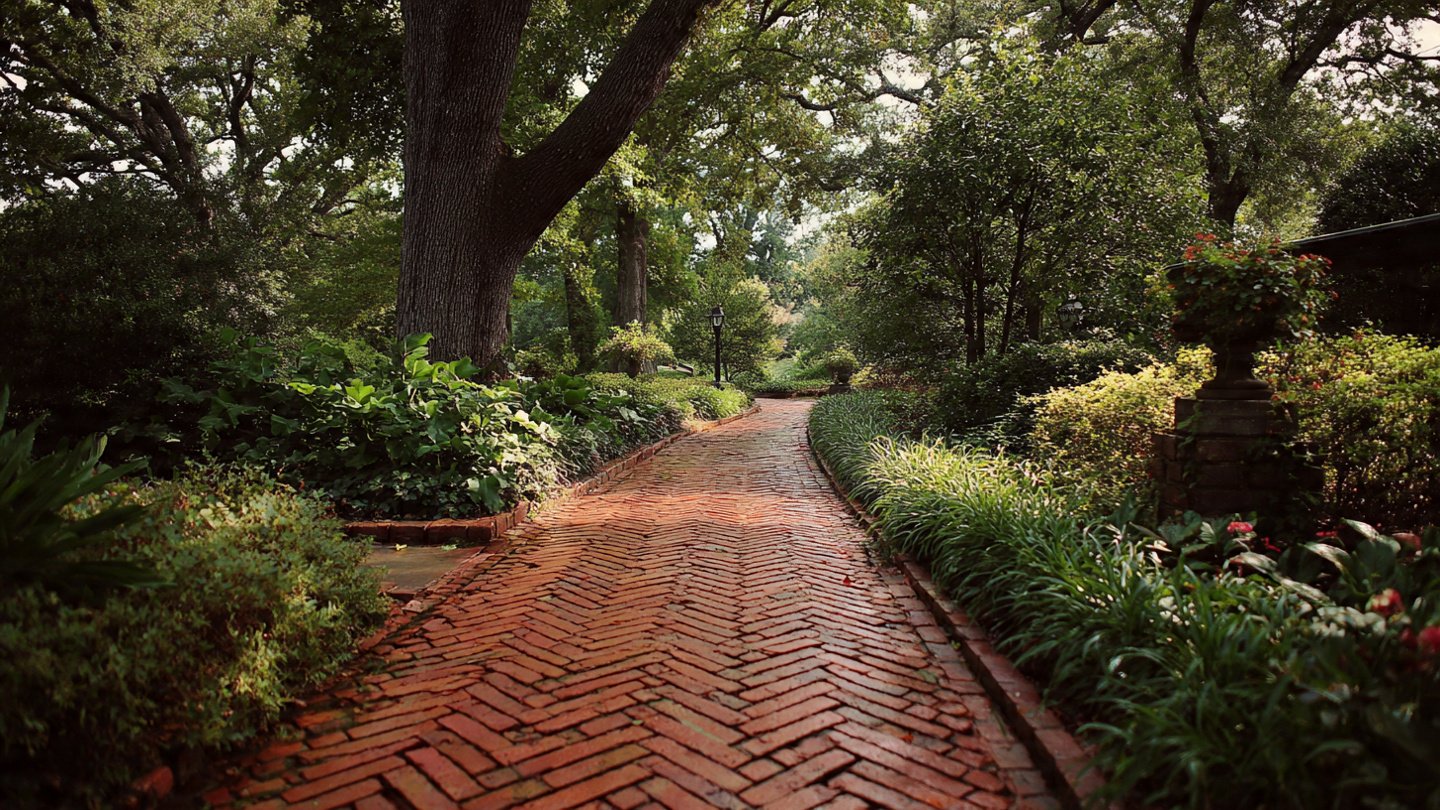
The herringbone pattern is named after the bones of a herring fish due to its unique design. The pattern is created by laying rectangular bricks at 45 degrees to each other in an interlocking arrangement. This not only provides strength to the path but also creates a visually appealing aspect that captures attention.
Benefits of Using Old Bricks
Opting for old bricks in your garden path has several advantages:
- Sustainability: Reusing bricks reduces waste and is environmentally friendly.
- Character: Weathered bricks add a rustic charm that new materials often lack.
- Cost-effective: Often, reclaimed bricks can be obtained at a lower cost or even for free.
- Durability: If maintained properly, bricks can last for many years.
Steps to Create Your Herringbone Garden Path
1. Gather Materials

Before starting, gather the necessary materials:
- Old bricks
- Sand or gravel base material
- Landscape fabric
- Edging (optional)
- Level
- Trowel or shovel
- String and stakes for layout
2. Plan Your Path
Decide on the path’s path’s location and design. To visualize, you may want to sketch it out or use string and stakes to outline your desired shape. Consider factors like:
- The flow of foot traffic in your garden
- Access to plants or features you want to highlight
- How the path fits into the overall design of your garden

3. Prepare the Ground
Once you have the layout, prepare the ground:
- Use a shovel to dig out a trench about 4-6 inches deep along your outlined path.
- Ensure the base is level and compacted. You can use a tamper for this purpose.
- Lay down landscape fabric to prevent weeds from growing through your path.
4. Create a Base Layer
Next, pour a layer of sand or gravel (about 2-3 inches) into the trench. Use a rake to spread it evenly and ensure it’s level. A solid base is crucial for maintaining the structure of the brick path.
5. Lay the Bricks in a Herringbone Pattern
With your base prepared, start laying the bricks:
- Begin at one end of the path and lay the first brick at a 45-degree angle.
- Place the next brick adjacent to the first to create the ‘V’ shape of the herringbone.
- Continue this process, alternating sides, ensuring that the bricks are tightly fitted.
- As you go, use a level to check that the bricks are even. Adjust as needed.

6. Cut Bricks if Necessary
At the edges of your path or where the design requires, you may need to cut bricks to fit. This can be done using a brick saw or chisel. Remember to wear gloves and safety goggles when cutting materials.
7. Fill Gaps with Sand
Once all bricks are laid, fill the gaps between them with sand. Use a broom to sweep the sand into the joints, ensuring that it fills thoroughly. This will help settle the bricks and prevent shifting.
8. Compact the Path
Finally, compact the entire path using a tamper, which will help secure the bricks and ensure the path is level and stable. Watering the path lightly can also help settle the sand in the joints.
Maintenance Tips
To keep your herringbone brick path looking stunning, consider the following maintenance tips:
- Regularly sweep debris and leave to prevent weeds from taking root.
- Inspect for any shifting bricks and reset them as necessary.
- Consider resealing the bricks every few years to protect against weather-related wear.
- During the off-season, cover the path with mulch or leaves to shield it from extreme weather conditions.

Conclusion
Transforming old bricks into a stunning herringbone garden path is not only a rewarding DIY project but also contributes to sustainable landscaping. The unique herringbone design enhances the aesthetic appeal of your garden while providing a durable surface for foot traffic. With careful planning, proper materials, and some elbow grease, you can create a vibrant path that adds character and charm to your outdoor space. Take these steps, and let your garden be the highlight it deserves to be.
FAQs
1. Can I use new bricks for a herringbone path?
Yes, you can use new bricks if you prefer. However, using old bricks adds character and is more eco-friendly.
2. How long does it take to create a herringbone garden path?
The time required depends on the size of the path and your experience level, but expect to spend a weekend on this project.
3. Do I need a permit to build a garden path?
Typically, a garden path does not require a permit, but it’s good practice to check with local regulations.

4. What maintenance is required for a herringbone path?
Regular sweeping to remove debris, occasional weeding, and resealing the bricks as necessary will keep your path looking great.
5. Can I use other materials alongside bricks?
Absolutely! Incorporating natural stones or gravel can provide additional texture and interest to your path.