Kale has gained immense popularity in recent years, often hailed as a superfood due to its nutritional benefits. Its rich vitamin content, including vitamins A, C, and K, along with essential minerals, make it a favorite among health-conscious individuals. Whether you’re a seasoned gardener or a beginner, growing kale in a large pot can be a fulfilling and practical choice. In this article, we’ll explore the secrets to successfully growing kale in a large pot, offering tips from choosing the right variety to ensuring optimal conditions for growth.
1. Choosing the Right Variety of Kale
Before you even start thinking about potting your kale, it’s essential to select the right variety. There are multiple types of kale, each with unique characteristics:
- Curly Kale: This is the most recognizable type, known for its frilly leaves and robust flavor.
- Lacinato Kale: Also referred to as Dinosaur Kale, it has dark, bumpy leaves and a sweeter taste compared to curly kale.
- Red Russian Kale: This variety has flat, fringed leaves and a mild flavor, with stunning purple stems.
Consider your culinary needs as well as the climate you live in. Some varieties are more cold-tolerant, while others thrive in milder temperatures.
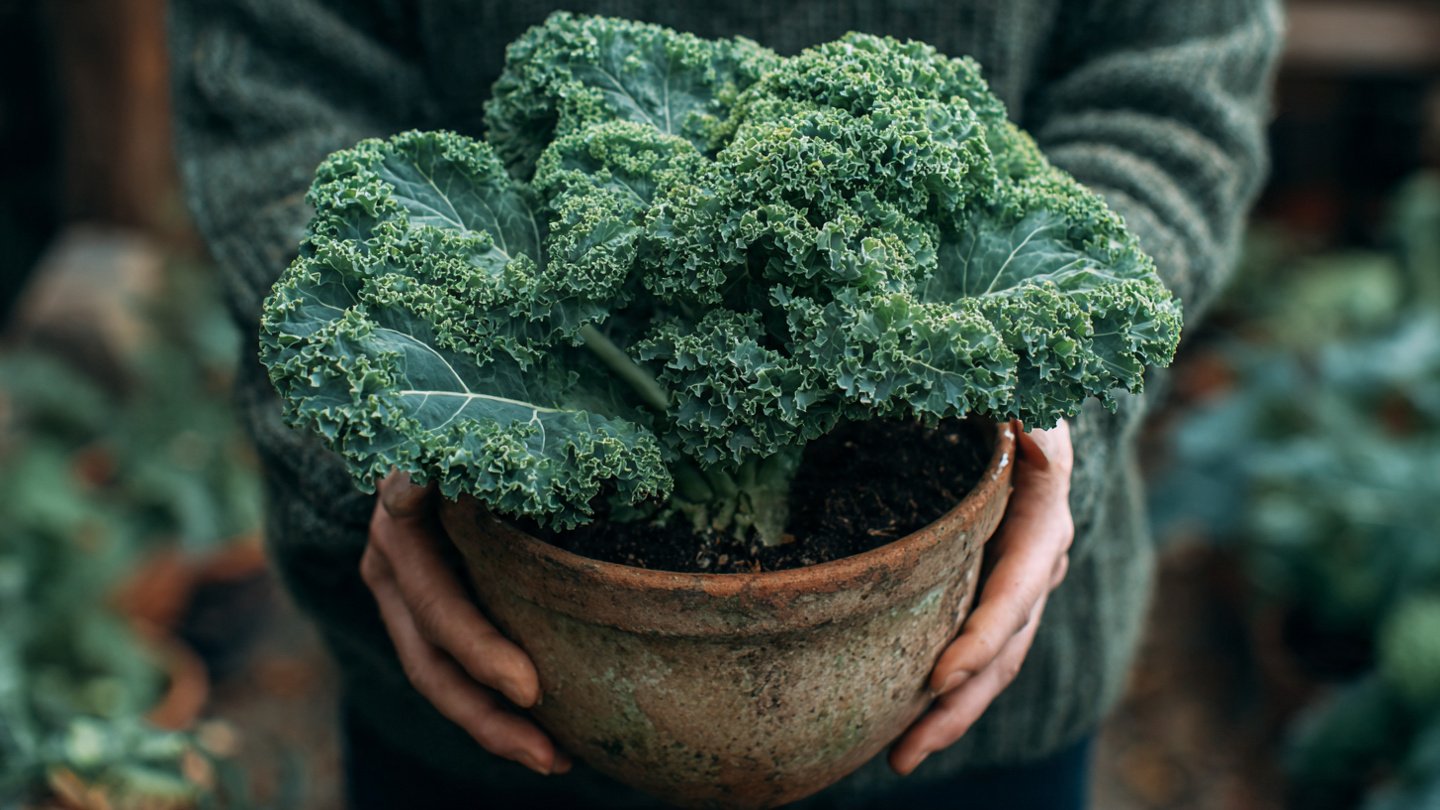
2. Selecting the Right Container
When growing kale in a large pot, the container’s size and material can significantly affect its growth:

- Size: Choose a pot that is at least 12 to 18 inches in diameter. Kale has a deep root system, and a larger pot will allow the roots to spread out, helping the plant thrive.
- Material: Options include plastic, terracotta, and ceramic. Plastic pots are lightweight and retain moisture well, while terracotta pots offer better breathability but can dry out quickly.
Make sure the pot has adequate drainage holes; poor drainage can lead to root rot and other issues.
3. Soil Preparation
Soil is another critical factor in growing kale successfully. Here’s how to prepare the best soil for your kale:
- Use Quality Potting Mix: Start with a high-quality potting mix that’s rich in organic matter. You can also create your own mix using equal parts of compost, peat moss, and vermiculite or perlite.
- Nutrient-Rich Additives: Incorporate organic fertilizers, such as compost or well-rotted manure, to provide essential nutrients to the plants. Kale is a heavy feeder, so it benefits from a nutrient-rich environment.
- pH Level: Kale prefers slightly acidic to neutral soil pH (around 6.0 to 7.5). You can easily test your soil with a home pH testing kit available at garden centers.
4. Planting Kale Seeds or Seedlings

You can either start kale from seeds or buy seedlings from a nursery. Here’s how to go about both methods:
Starting from Seeds
- Timing: Kale can be sown outdoors in early spring or late summer for a fall harvest. For indoor planting, start seeds about 6-8 weeks before your last expected frost date.
- Sowing Depth: Plant seeds about ¼ to ½ inch deep, spacing them at least 2 inches apart. You can thin the seedlings later if necessary.
Transplanting Seedlings
If you opt for seedlings, plant them in the pot after the last frost or when they are about 4-6 weeks old. Space the seedlings about 12-18 inches apart to allow for proper growth.
5. Watering Practices
Kale requires consistent moisture for optimal growth, but overwatering can lead to root issues. Here are some watering tips:
- Frequency: Water the pot well after planting. Subsequent watering should be done whenever the top inch of the soil feels dry to the touch.
- Watering Techniques: Use a watering can or hose with a spray nozzle to avoid disturbing the young plants. Ensure that water seeps through the drainage holes at the bottom for effective hydration.

6. Fertilizing Your Kale
Kale is a heavy feeder, so regular fertilization is crucial:
- Fertilization Schedule: Apply a balanced, organic fertilizer every four to six weeks during the growth period. A 10-10-10 NPK (nitrogen, phosphorus, potassium) fertilizer works well.
- Organic Alternatives: You can use compost tea or fish emulsion as an organic alternative to synthetic fertilizers.
7. Providing the Right Light Conditions
Kale thrives in full sunlight but can also tolerate partial shade, especially in hotter climates:
- Sunlight Requirements: Aim for at least 6 hours of direct sunlight daily. If your pot is in a particularly hot location, consider providing some afternoon shade to prevent leaf scorch.
- Indoor Growing: If growing indoors, utilize grow lights to supplement natural light, especially in winter months.
8. Pest Control and Disease Management

While kale is relatively hardy, it can be susceptible to pests and diseases. Here’s how to manage them:
- Common Pests: Watch out for aphids, cabbage worms, and flea beetles. You can use insecticidal soap or neem oil for pest control.
- Preventing Diseases: Ensure good air circulation around the plants to minimize fungal diseases. Avoid overhead watering to reduce moisture on the leaves.
9. Harvesting Your Kale
Kale can be harvested at various stages, depending on your preference for tenderness or maturity. Follow these tips for successful harvesting:
- Timing: Start harvesting individual leaves once they reach about 6-8 inches long. Early harvesting encourages new growth and prolongs the plant’s life.
- Cutting Technique: Use sharp scissors or pruning shears to cut outer leaves. Avoid damaging the central growing point so the plant can continue to produce new leaves.
10. Extending the Growing Season
Kale is surprisingly resilient and can often withstand frost. Here are ways to extend your growing season:

- Frost Tolerance: Kale can survive temperatures as low as 20°F (-6°C).
- Row Covers: Use floating row covers for added protection from frost during chilly nights.
- Container Relocation: If the weather turns harsh, consider bringing your potted kale into a more sheltered location, like a garage or covered patio.
Conclusion
Growing kale in a large pot can be a gratifying experience, allowing you to harvest fresh greens right from your balcony or patio. By selecting the right variety, preparing quality soil, maintaining proper watering and fertilization schedules, and protecting your plants from pests, you’ll create an ideal environment for your kale to thrive.
So whether you’re incorporating this nutrient-packed green into salads, smoothies, or soups, these secrets will help you cultivate an abundant supply of homegrown kale. Happy gardening!