Why Sweet Potatoes Are Perfect for Low-Cost Growing
Sweet potatoes are resilient and adaptable, making them ideal for zero-budget gardening. Unlike other vegetables, a single tuber can generate multiple new plants, called slips, which can then be rooted and replanted. This means you can continuously grow new plants from scraps. Even in small spaces like balconies, windowsills, or patios, sweet potatoes can thrive if given proper care.
Some key reasons gardeners love low-cost sweet potato cultivation include:
- Minimal Space Required: You don’t need a traditional garden bed. Containers and recycled materials work perfectly.
- Self-Propagating: One sweet potato can yield dozens of slips for planting.
- Low Maintenance: Sweet potatoes are hardy, requiring only basic watering and sunlight.
- Dual Harvest: Both the tubers and young leaves are edible, providing extra nutrition.
These benefits make [FOCUS KEYWORD] ideal for beginners, urban gardeners, and anyone interested in sustainable food production. (cafemadras.org)
Step 1: Producing Sweet Potato Slips at No Cost
The first step in growing sweet potatoes without spending money is generating slips from an existing tuber. Slips are small shoots that grow from the potato and can be rooted into new plants.

Starting With a Kitchen Sweet Potato
- Choose a healthy sweet potato with visible “eyes” or sprouts. Organic potatoes are ideal but not required.
- Wash the potato gently to remove dirt.
- Use a glass or jar with water and suspend the potato using toothpicks so that half sits submerged.
Within 1–3 weeks, green shoots will emerge. These shoots can then be cut, rooted in water, and transplanted into soil or a container. (cafemadras.org)
Step 2: Using Recycled Containers for Planting
You don’t need expensive pots or garden beds. Sweet potatoes thrive in any container that allows space for tuber growth.
Examples of Low-Cost Containers:
- Old buckets with drainage holes
- Recycled plastic crates or bins
- Styrofoam boxes
- Large bags (rice, flour, or fertilizer bags)
Make sure there are adequate drainage holes. This is critical to prevent waterlogging and root rot. You can create holes using a screwdriver, heated nail, or fork. (cafemadras.org)
Step 3: Preparing Low-Cost Soil
Sweet potatoes do not require premium potting soil. A loose, well-draining medium made from household and garden materials works well.

DIY Soil Mix:
- 50% compost or garden soil
- 30% shredded leaves, coco coir, or peat moss
- 20% perlite, sand, or small gravel for drainage
You can also include shredded cardboard, coffee grounds, or kitchen scraps, which break down over time into nutrient-rich soil. This method costs nothing and supports sustainable gardening practices. (cafemadras.org)
Step 4: Transplanting Slips
Once your slips are rooted in water:
- Gently remove them from the water.
- Plant each slip in your prepared container, burying the roots while keeping leaves above soil.
- Space slips at least 12–18 inches apart to allow room for tuber development.
With minimal space, you can grow multiple plants in one container using tiered or vertical setups. (completegardening.com)
Step 5: Watering and Sunlight Requirements
Sweet potatoes are hardy but do best with moderate sunlight and consistent moisture.

- Sunlight: Ensure plants receive 5–6 hours of direct sunlight daily. Morning sun is preferred in hot climates.
- Watering: Water only when the soil begins to dry. Overwatering can cause tuber splitting or rot.
- Mulching: Use straw, leaves, or shredded paper to retain moisture and suppress weeds.
These practices maintain steady growth without extra cost. (thespruce.com)
Step 6: Additional Low-Cost Tips Few People Know
Reuse Natural Materials
Leaves, kitchen scraps, and coffee grounds can be added to the soil. They decompose slowly, providing nutrients for free.
Vine Cuttings
You can take 4–6 inch cuttings from existing sweet potato vines and root them in water, creating new plants without slips.
Save Tubers for Next Season
After harvest, keep a few tubers to grow the next season, ensuring a perpetual crop without buying seeds. (cafemadras.org)

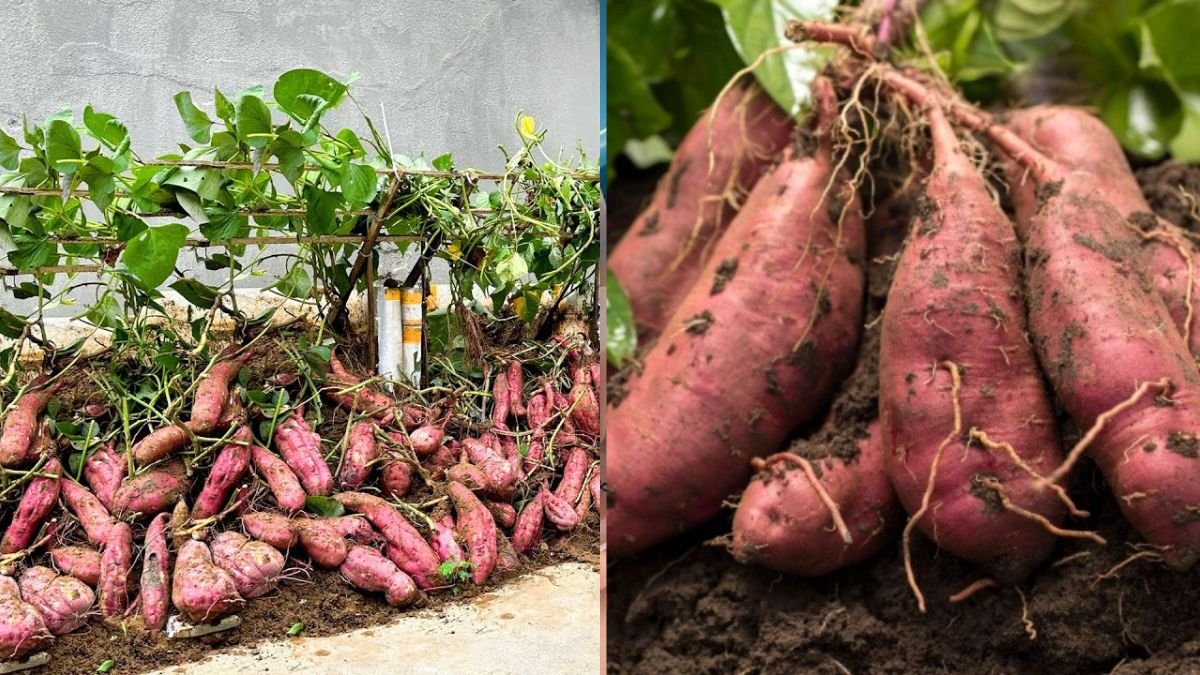
Step 7: Harvesting
Sweet potatoes typically mature in 90–150 days. Signs of readiness include yellowing leaves and slowing vine growth.
- Gently dig around tubers to avoid bruising.
- Harvest both tubers and tender leaves for dual-use.
- Cure tubers for 1–2 weeks in a warm, dry location to enhance sweetness and storage life.
Proper harvesting ensures maximum yield from minimal investment. (cafemadras.org)
Why This Method Works
Sweet potatoes naturally thrive in loose, aerated soil and don’t require rich or expensive fertilizers. By propagating slips, reusing containers, and relying on kitchen scraps for nutrients, you can cultivate a productive crop at virtually no cost. This method combines accessibility, sustainability, and efficiency, making it perfect for beginners, urban growers, or anyone looking to grow their own food inexpensively. (completegardening.com)
Suggested Authoritative Sources
- Complete Gardening: 19 Ways to Grow Sweet Potatoes (completegardening.com)
- The Spruce: Vegetables You Shouldn’t Overwater (thespruce.com)
- Good Housekeeping: How to Grow Sweet Potatoes (goodhousekeeping.com)
- Cafe Madras: Zero-Budget Sweet Potato Growing (cafemadras.org)
Final Thoughts
Sweet potatoes are a highly rewarding, nutritious, and low-maintenance vegetable. By using leftover tubers, recycled containers, and organic waste for soil, [FOCUS KEYWORD] offers a cost-free, environmentally friendly way to grow your own food. With patience and consistent care, even beginners can enjoy impressive yields with minimal investment.

Start today: grab a leftover sweet potato, set up a jar with water, and begin rooting your slips. Soon, you’ll have a thriving garden of sweet potatoes growing almost entirely for free — a sustainable and satisfying gardening experience.