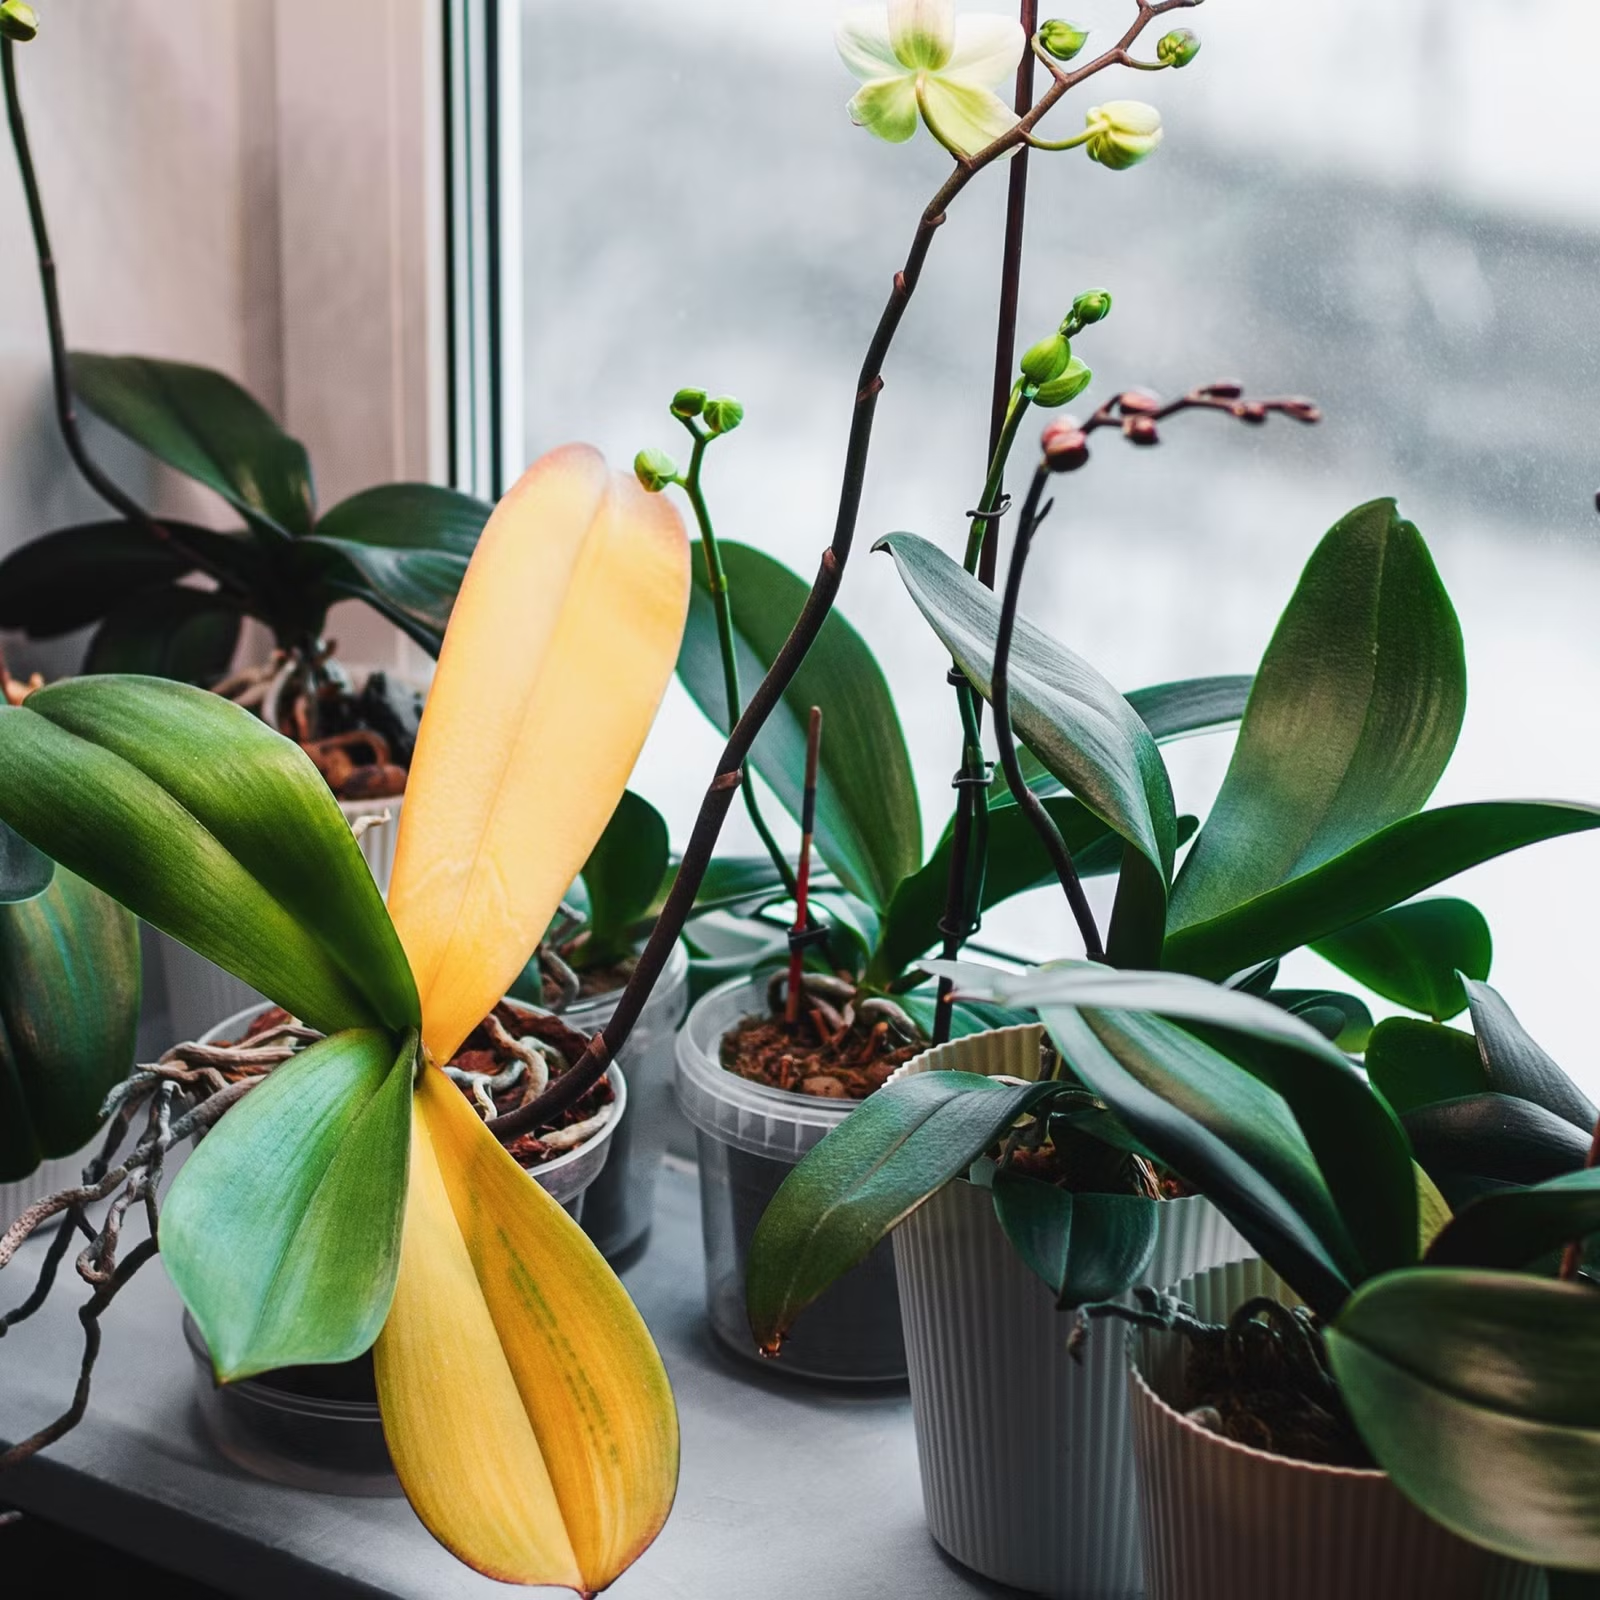
Orchids are famous for their exotic beauty, but they are also notorious for being misunderstood. One of the biggest reasons orchids fail to thrive in homes isn’t lack of water, light, or fertilizer — it’s what’s happening at their roots. Most orchids sold in stores come packed tightly in sphagnum moss that slowly becomes dense, soggy, and suffocating over time.
If your orchid has stopped blooming, has limp leaves, or seems to be slowly declining, compacted moss may be the silent killer. Learning how to remove it and let your orchid “breathe” can completely transform your plant’s health.
Why Orchids Don’t Grow in Soil
In nature, most orchids grow attached to trees, rocks, or bark — not buried in soil. Their roots are designed to cling to surfaces and absorb moisture and air from the surrounding environment.
Orchid roots need:
- Air circulation
- Fast drainage
- Occasional moisture
- Drying between waterings
This is why heavy, compacted growing media is dangerous for them.

What Happens When Moss Becomes Compacted
Sphagnum moss is commonly used for orchids because it holds moisture well. But over time, repeated watering compresses the fibers, turning fluffy moss into a dense, soggy block.
This causes:
- Roots to suffocate
- Lack of oxygen
- Root rot
- Fungal growth
- Poor nutrient absorption
Even if you water perfectly, compacted moss traps moisture around the roots and slowly kills them.
Signs Your Orchid Is Being Suffocated
You don’t need to pull the plant out of the pot to know something is wrong. Watch for these warning signs:
- Wrinkled or floppy leaves
- Yellowing leaves
- No new roots
- Flower buds dropping
- A sour or musty smell from the pot
- Black or mushy roots
These symptoms often appear long before the plant dies.

Why Orchids Need to “Breathe”
Orchid roots are covered in a spongy layer called velamen. This tissue absorbs moisture and oxygen from the air. When roots are smothered by compacted moss, velamen can’t function properly.
Healthy orchid roots should be:
- Firm
- Plump
- Green or silvery
- Drying slightly between watering
Air exposure is just as important as water.
When to Remove Compacted Moss
The best time to repot an orchid is after it finishes flowering or when new roots begin to grow. But if the moss is suffocating the roots, you should act immediately — even if the plant is blooming.
A healthy root system is more important than a temporary flower display.

How to Safely Remove Compacted Moss
- Gently remove the orchid from its pot
- Use your fingers to loosen the moss
- Rinse roots under lukewarm water
- Remove all old moss
- Cut away black, soft, or rotted roots
Healthy roots are firm and light-colored.
What to Repot With
After removing compacted moss, use a loose, airy orchid mix made of:
- Bark
- Charcoal
- Perlite
- Coconut husk
These materials allow air to reach roots while still holding some moisture.
Choosing the Right Pot
Always use a pot with drainage holes — clear orchid pots are ideal because they let you monitor root health and moisture levels.
Never use a pot that traps water.

How to Water After Repotting
Water thoroughly, then let the pot drain completely. Do not water again until the roots turn silvery and dry.
This wet-dry cycle mimics the orchid’s natural environment.
How Long Until Your Orchid Recovers?
After repotting, orchids may look tired for a few weeks. This is normal. Once roots start growing into the new airy medium, leaves firm up and new flower spikes appear.
Many orchids bloom again within months after their roots can breathe properly.
Final Thoughts
Compacted moss is one of the most common and most deadly mistakes in orchid care. By removing it and giving your orchid an airy, well-draining home, you restore the plant’s natural ability to absorb air, water, and nutrients.

Let your orchid breathe, and it will reward you with stronger roots, healthier leaves, and spectacular blooms