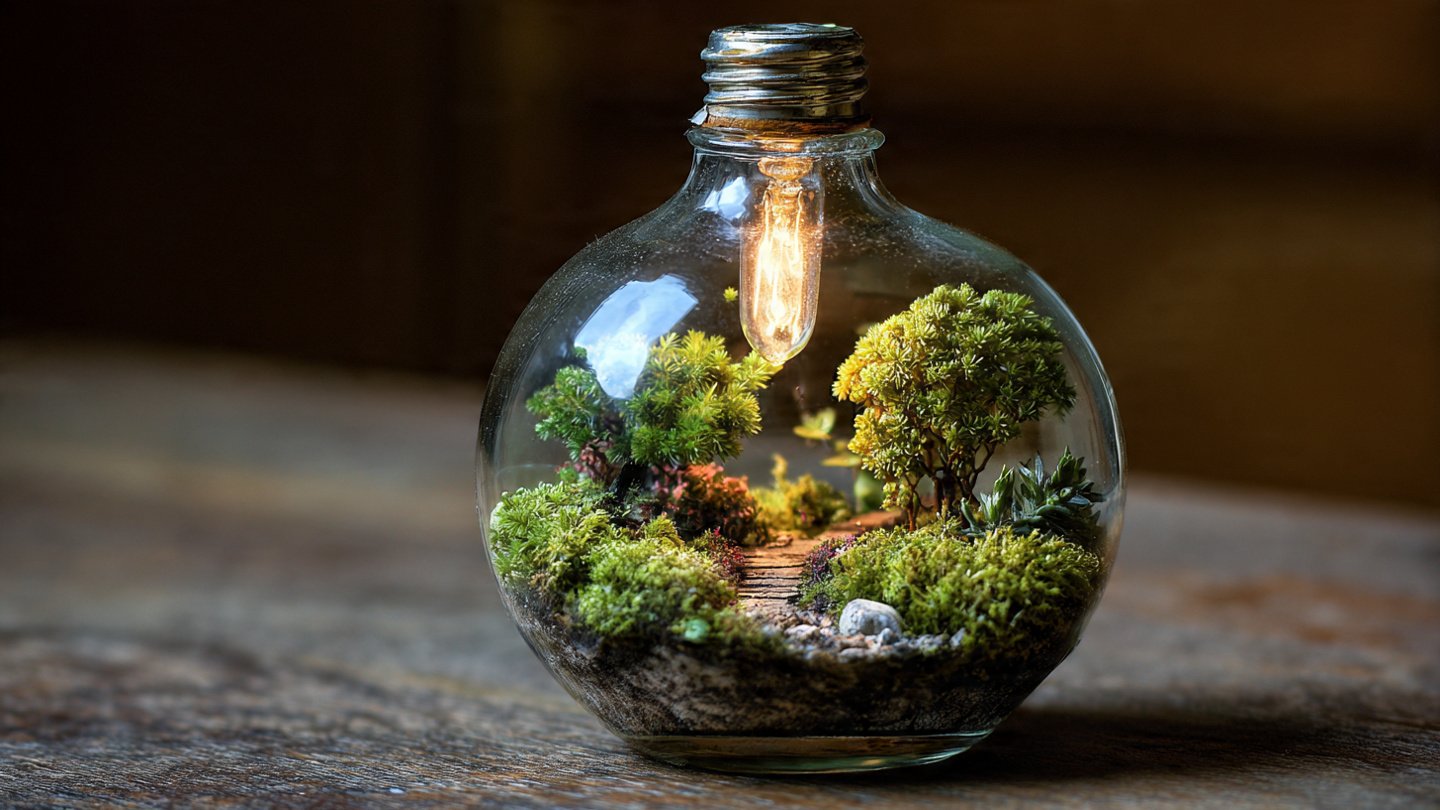
Have you ever pondered what to do with those old light globes gathering dust in your attic? Instead of tossing them out, why not transform them into beautiful mini terrariums? Not only is this a creative recycling project, but it also adds a touch of nature to your home. In this guide, we will explore the steps, materials needed, and tips for creating delightful mini ecosystems inside your old light globes.
Gathering Materials
Before diving into the project, you’ll need to gather some materials. Here’s a quick list:
- Old light globes (clear ones work best)
- Small plants (like succulents, moss, or air plants)
- Pebbles or small stones
- Activated charcoal (optional)
- Potting soil
- Small decorative elements (like figurines, shells, or colored sand)
- Wire cutters or pliers
- Wire (for hanging if desired)
- Gloves (optional, for handling plants and soil)

Step-by-Step Guide to Creating Your Mini Terrarium
Step 1: Prepare the Light Globe
The first step is to prepare the old light globe. Ensure you have removed any electrical components and cleaned the glass thoroughly. Safety is key, so if you need to break the light globe, do so with caution:
- If the globe is intact, carefully strip away any fittings.
- If the globe itself is redundant, gently break it apart (wear safety goggles!) and remove sharp edges.
Step 2: Create a Drainage Layer

To prevent over-watering your plants, create a drainage layer at the bottom of the globe. This layer can be made of small pebbles or stones. Aim for a layer that’s about an inch thick. If you have activated charcoal, you can sprinkle a thin layer over the pebbles to help with odor control and moisture retention.
Step 3: Add Potting Soil
On top of your drainage layer, add a layer of potting soil. This should be around two to three inches deep, depending on the plants you choose. Ensure the soil is lightweight and contains the right nutrients for your chosen plants.
Step 4: Choosing and Placing the Plants
Select small plants that will fit well into your terrarium. Succulents, moss, and air plants are popular choices. Remove any extra soil from the roots and plant them into the potting soil. Ensure they are spaced out to allow for growth.
Step 5: Adding Decorative Elements
Now is the time to get creative! You can add small decorative items like figurines, colorful stones, sand, or shells. This step is all about personalization, so choose elements that resonate with your style.

Step 6: Watering
After assembling your mini terrarium, give it a gentle watering. Ensure you don’t overwater; a few drops will suffice initially. Use a spray bottle or a dropper for precise control. Much like in nature, these ecosystems thrive on balance.
Step 7: Sealing the Globe (Optional)
If you want a closed mini-ecosystem, you can seal the globe with its original top or any suitable cover. This can help the environment maintain humidity, especially for moisture-loving plants. However, ensure there is adequate ventilation, especially if you notice condensation building up.
Caring for Your Mini Terrarium
Caring for your mini terrarium is essential to ensure its beauty lasts. Here are some tips:
- Light: Place your terrarium in bright, indirect sunlight. Avoid direct sunlight, which can overheat and damage the plants.
- Water: Hydrate your plants every few weeks. Check the soil; if it feels dry to the touch, it’s time to water.
- Pruning: Regularly trim back any overgrown plants to maintain the aesthetic and health of your terrarium.
- Cleaning: Wipe down the glass occasionally to maintain clarity and enhance visibility of your miniature garden.

Conclusion
Transforming old light globes into charming mini terrariums is not only a fun and artistic project but also a sustainable way to bring a piece of nature into your home. The process is easy and allows for creativity, making it an enjoyable endeavor for individuals or families alike. By following the steps outlined and caring for your terrarium, you can create a beautiful and unique display that breathes life into any space. So gather your materials, unleash your creativity, and enjoy the process of crafting your enchanting mini ecosystem!
FAQs
1. Can I use any type of light globe for this project?
While most clear glass globes work well, avoid globes with complex shapes or colors that don’t show the plants well. Clear ones offer better visibility and aesthetics.
2. How often should I water my mini terrarium?
It usually depends on the plants you choose, but a general rule is to water every couple of weeks. Always check the moisture level of the soil before watering.
3. What types of plants are best for mini terrariums?
Succulents, mosses, and air plants are popular choices. They tend to thrive in small spaces and require less maintenance.

4. Will my terrarium need sunlight?
Yes, but it’s important to place it in bright, indirect sunlight to prevent overheating and moisture loss.
5. Can I seal my terrarium completely?
Sealing your terrarium is optional. A sealed terrarium retains moisture but requires careful monitoring to prevent mold and decomposition. Open terrariums are easier to care for.