Drip irrigation is a highly efficient method for watering plants. It reduces water waste and delivers moisture directly to the root zone, promoting healthy growth. For homeowners and gardeners seeking a cost-effective watering solution, building your own drip irrigation system can be a rewarding project.
Understanding Drip Irrigation
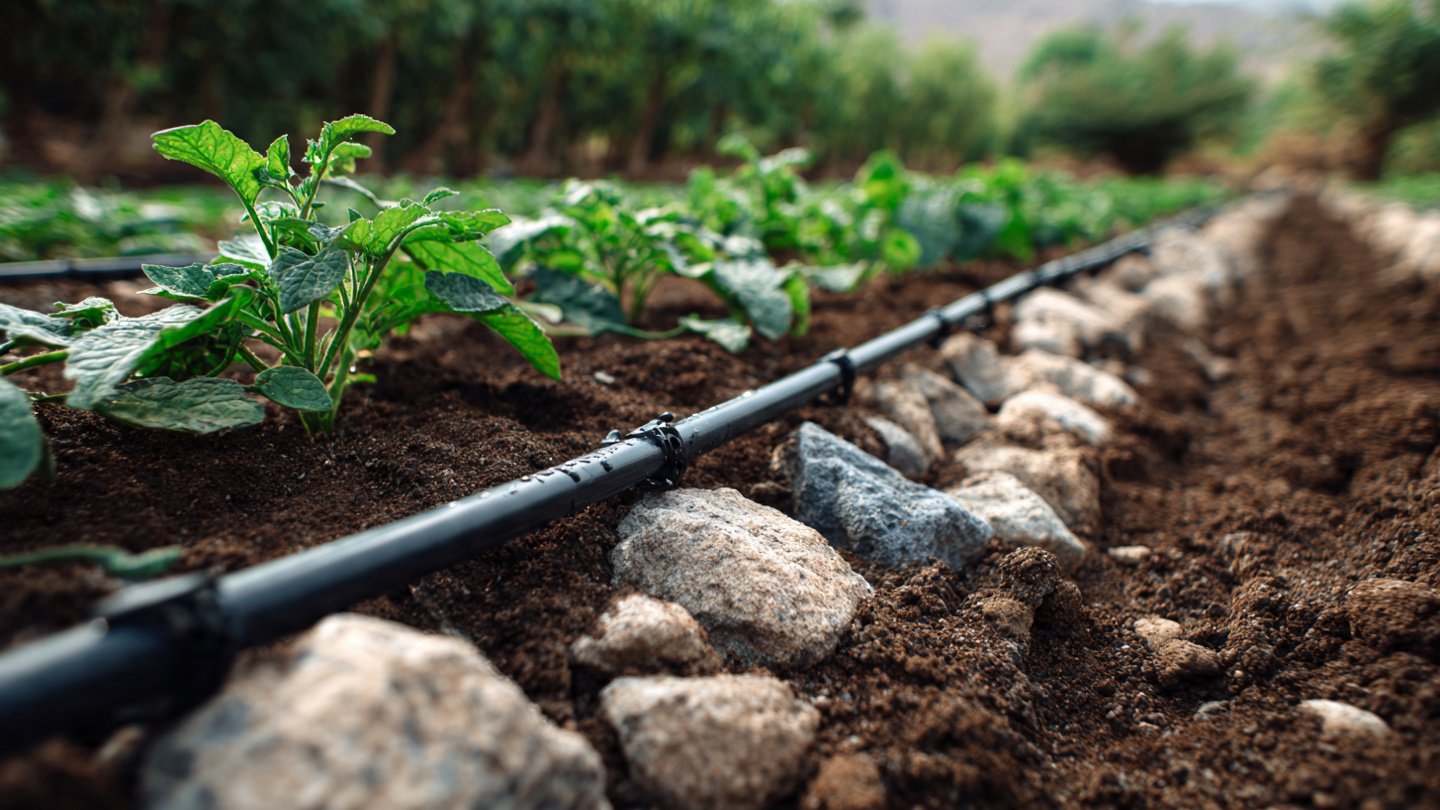
Before we dive into the specifics of building a budget-friendly system, it’s important to grasp what drip irrigation entails. This technique uses a network of tubing, emitters, and control components to distribute water evenly. Unlike traditional irrigation methods that spray water, drip irrigation minimizes evaporation and runoff.
Benefits of Drip Irrigation
- Water Conservation: Uses significantly less water than conventional systems.
- Targeted Watering: Directs water to plant roots, where it’s needed most.
- Pest and Disease Control: Reduces foliage wetness, which can limit pest outbreaks and diseases.
- Time-Saving: Automating the system can make garden maintenance easier.
Materials Needed for Your Budget-Friendly Drip Irrigation System
To construct a simple and cost-effective drip irrigation system, gather the following materials:

- Drip Tubing: The primary delivery system for water.
- Emitters: Devices that control the flow and delivery of water to plants.
- Connector Fittings: To join different sections of tubing and fit emitters.
- Filters: To prevent debris from clogging the system.
- Pressure Regulators: To maintain optimal water pressure.
- Couplers: For attaching different pieces of tubing.
- Hose Stakes: To secure tubing in place when running through garden beds.
Steps to Build Your Drip Irrigation System
1. Plan Your Layout
Before purchasing materials, sketch a layout of your garden. Identify the plants that require watering and consider their spacing. Determine the water source’s location and how far your system will need to reach.
2. Measure and Buy Materials

Based on your layout, measure the lengths of tubing you will need. Most garden centers offer drip irrigation kits that come with all necessary components at a discounted price. Buying in bulk can also reduce costs.
3. Install the Mainline Tubing
Start by laying out the mainline tubing along your planned layout. This line will connect to the main water source. Ensure the tubing runs directly to each plant or garden bed.
4. Add Emitters
Cut small holes in the mainline tubing to insert emitters. The number of emitters per plant will depend on the plant’s size and water needs. It’s better to start with fewer emitters and adjust as necessary.
5. Attach Connector Fittings
Use the connector fittings to join various sections of tubing. Ensure all fittings are tightly secured to prevent leaks.
6. Install the Filter and Regulator
Attach the filter at the beginning of the tubing run to keep debris from clogging your emitters. Also, install a pressure regulator to maintain uniform water pressure throughout the system.

7. Secure the Tubing
Use hose stakes to hold the tubing in place, particularly if it’s laying in garden beds. This will prevent it from shifting, ensuring even water distribution.
8. Test the System
Once installed, turn on the water to test the system. Check for leaks and adjust the positions of emitters as needed. Observe how the system distributes water to ensure all plants receive adequate moisture.
Tips for Maintenance
To ensure the longevity and effectiveness of your drip irrigation system, consider the following maintenance tips:
- Regularly check and clean the filters: This prevents clogs and maintains efficient water flow.
- Inspect emitters: Make sure they’re functioning correctly and replace any that are damaged.
- Monitor water pressure: Ensure that the pressure regulator is working effectively to maintain optimal flow.
- Adjust as necessary: As plants grow or seasons change, you may need to adjust the number and placement of emitters.

Conclusion
Building a budget-friendly drip irrigation system is not only cost-effective but also rewarding. By understanding your garden’s needs and following a systematic approach, you can create a highly efficient irrigation solution that conserves water and promotes healthy plant growth. Regular maintenance and monitoring will ensure your system remains effective and beneficial for years to come.
FAQs
1. How much does it cost to build a drip irrigation system?
The cost varies depending on the size of your garden and the quality of materials. On average, a DIY system can range from $50 to $200.
2. Can I automate my drip irrigation system?
Yes, you can add timers and sensors to automate your system, which can further save time and water.
3. How often should I run my drip irrigation system?
This depends on your climate, plant types, and soil conditions. Generally, running it for 30 minutes to an hour twice a week is a good starting point.
4. Can I use a rain barrel as a water source?

Absolutely! Using a rain barrel can make your system even more cost-effective and eco-friendly.
5. What types of plants benefit most from drip irrigation?
Most garden plants, including vegetables, flowers, and shrubs, benefit from drip irrigation due to its targeted watering approach.