Peanuts, a delicious and versatile snack, are not just great for health but can also be grown at home with some patience and care. Growing peanuts may seem daunting, but it’s a manageable task if you follow some straightforward steps. In this article, we’ll walk you through each step of growing peanut plants, from choosing the right variety to harvesting your yield.
Understanding Peanut Plants
Peanuts (Arachis hypogaea) are legumes that thrive in warm climates. They require a growing season of 120 to 150 days and demand well-drained, sandy soil for optimal growth. Here’s a breakdown of the steps to help you get started.
Step 1: Choosing the Right Variety
There are four primary types of peanuts:
- Virginia: These are large peanuts often used for roasting.
- Spanish: Smaller peanuts with a sweet flavor, commonly found in candies.
- Runner: Known for being consistently sized, ideal for peanut butter.
- Valencia: These are sweet and typically used for boiling.
When selecting your variety, consider your climate and what you want to do with the peanuts. If you are just starting, Runner peanuts are generally easier to grow.
Step 2: Preparing the Soil
Soil Type
Peanuts thrive in sandy loam soil with good drainage. Avoid heavy clay or rocky soils, which can hinder their growth.

Soil Preparation
-
Testing: Test your soil’s pH; peanuts prefer a pH between 5.8 and 6.2. This can affect nutrient absorption.
-
Amending Soil: If necessary, add lime to increase pH or sulfur to lower it. Mix in compost to enhance nutrient content and improve drainage.
-
Till the Soil: Turn over the soil to a depth of 12–15 inches. This encourages root growth and helps in aeration.
Step 3: Planting Peanuts
When to Plant
Peanuts should be planted in the spring, after the last frost, when the soil temperature reaches approximately 65°F (18°C).
Planting Method
-
Seed Preparation: Start with raw, unsalted peanuts with the skins still intact. Soak them in water for a few hours before planting to encourage germination.
-
Spacing: Plant the seeds about 1–2 inches deep and space them 6–8 inches apart in rows that are 24–36 inches apart.
-
Planting: You can either plant them directly in your garden or start them in pots. If using pots, ensure they have good drainage.

Step 4: Watering and Fertilizing
Watering
Peanuts require consistent moisture, particularly during their germination phase. Water your plants:
- During Germination: Keep the soil consistently moist.
- After Germination: Water deeply but infrequently, about once a week, to ensure the roots are encouraged to grow deeper.
Fertilizing
Fertilization is crucial but keep it balanced. Too much nitrogen can hinder the formation of peanut pods.
-
Starter Fertilizer: Use a nitrogen-phosphorus-potassium (NPK) fertilizer with lower nitrogen content (e.g., 5-10-10) to promote healthy growth.
-
Timing: Apply once at planting time and again when the plants start to flower.
Step 5: Mulching and Pest Control
Mulching

Apply a layer of organic mulch such as straw or wood chips around the plants. This helps retain soil moisture, suppress weed growth, and regulate soil temperature.
Pest Control
Common pests include aphids, spider mites, and leafcutter bees. Here are some options for managing pests naturally:
- Companion Planting: Planting flowers like marigolds can deter aphids.
- Insecticidal Soap: Use organic insecticidal soap spray for severe infestations.
Step 6: Managing Growth
As your peanut plants grow, keep an eye on their development:
- Monitoring: Look for signs of wilting or yellowing leaves, which may indicate nutrient deficiency or pests.
- Weeding: Regularly remove weeds that compete with your peanuts for nutrients.
- Support: If you notice the plants leaning or falling over, consider gently supporting them.
Step 7: Harvesting Peanuts
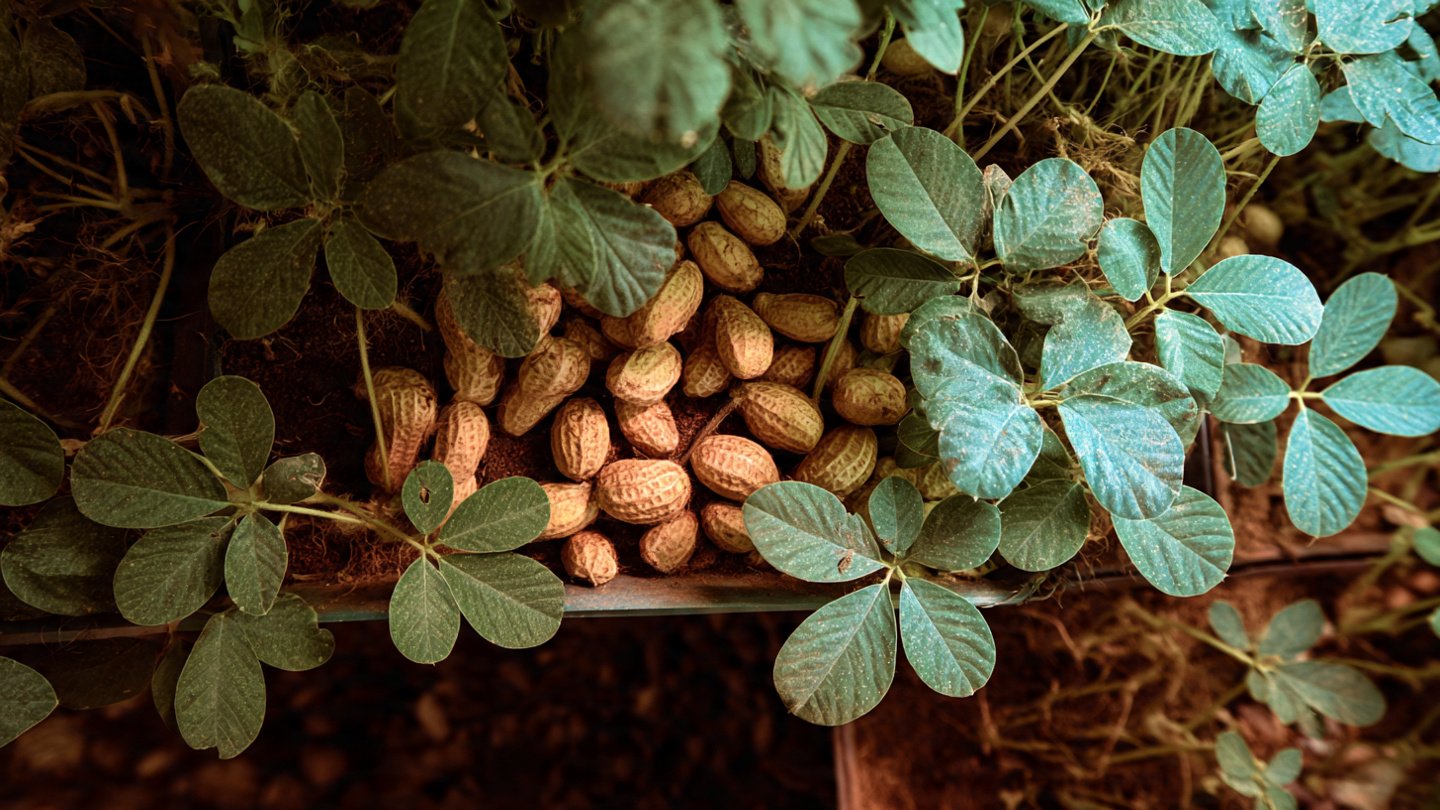
Peanuts are ready to be harvested when the leaves turn yellow and start to dry, typically 120-150 days after planting.
Harvesting Method

- Checking: Gently dig around the plant’s base to see if the pods are formed and filled.
- Lifting: Pull the entire plant gently from the ground. Peanuts are usually attached to the roots.
- Drying: Shake off excess soil and hang the plants to dry in a warm, dry place for a few weeks.
Step 8: Storing Peanuts
Once dried, remove the peanuts from the pods. Store them in a cool, dry place:
- Glass Jars: Ideal for long-term storage.
- Plastic Bags: Suitable for short-term storage, but ensure they are airtight.
Frequently Asked Questions (FAQs)
1. Can I grow peanuts in containers?
Yes, peanuts can be grown in containers as long as the container is deep enough for their roots (at least 12 inches) and has good drainage.
2. Do peanuts require a lot of sunlight?
Peanuts prefer full sun—at least 6-8 hours of direct sunlight daily. Ensure they are planted in a location that meets this requirement.
3. How do I know when my peanuts are ready to harvest?
Peanuts are ready to harvest when the foliage turns yellow and starts wilting. You can carefully dig around the base to check pod formation.

4. Can peanuts be planted in colder climates?
Peanuts prefer warm climates. If you live in a colder region, consider starting seeds indoors or using row covers to protect the plants from cold nights.
5. How often should I water peanut plants?
Peanuts require consistent moisture. Water them deeply once a week, adjusting based on rainfall and soil moisture levels.
6. What are the common diseases that affect peanut plants?
Common diseases include leaf spot, rust, and root rot. Ensure proper spacing, crop rotation, and good sanitation practices to minimize their impact.
7. How much yield can I expect from a peanut plant?
Under ideal conditions, a healthy peanut plant can yield 2–6 peanuts per pod, resulting in around 200-300 pounds of peanuts per acre.
Conclusion
Growing peanuts at home is a rewarding endeavor that can yield delicious results. With a bit of preparation and care, you can successfully cultivate this nutritious crop. Whether you plan to snack on them, use them in cooking, or even make your own peanut butter, following these simple steps ensures your success. Happy gardening!