Scabiosa, commonly known as pincushion flower due to its unique flower structure, is a charming addition to any garden. With a variety of colors and long-lasting blooms, scabiosa can enhance your landscape and attract pollinators. Growing scabiosa from seed is a rewarding experience that can provide an abundance of beautiful flowers. Here’s a comprehensive guide on how to successfully cultivate these lovely plants from seed.
Understanding Scabiosa
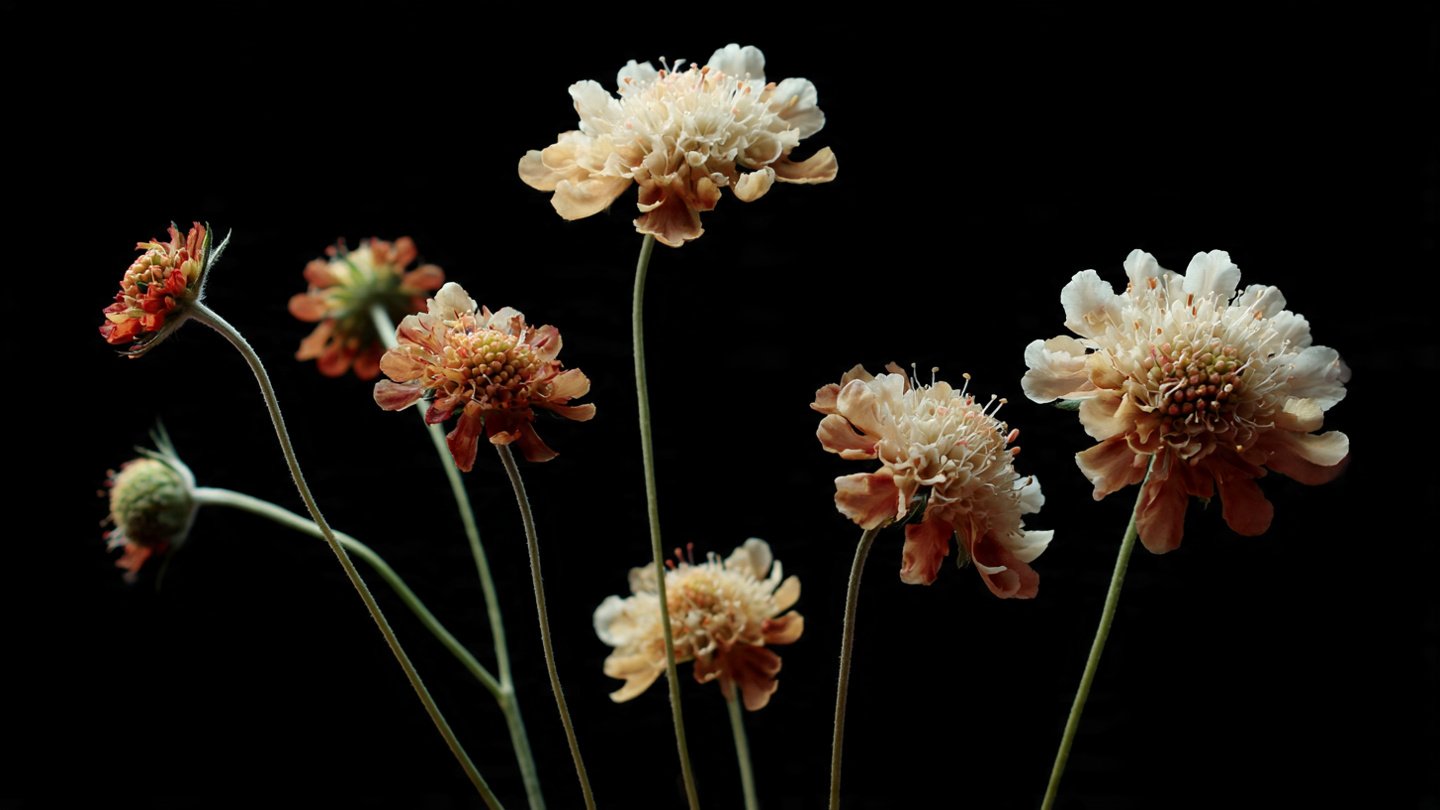
Before diving into the growing process, it’s essential to understand the characteristics and varieties of scabiosa. This perennial or biennial plant belongs to the honeysuckle family and is native to Europe, Asia, and Africa. Scabiosa flowers typically bloom from late spring to early fall, adding vibrant colors in shades of blue, purple, white, and pink. The flowers are not only visually striking but are also attractive to butterflies and bees, making them a favorite among gardeners.
Varieties of Scabiosa
There are several popular species and cultivars of scabiosa, including:
- Scabiosa caucasica: This variety features light blue flowers and grows up to 24 inches tall.
- Scabiosa atropurpurea: Known for its dark purple flowers, this annual variety can grow up to 30 inches and is favored in cottage gardens.
- Scabiosa columbaria: A shorter species, reaching around 12 inches, that produces lavender-blue flowers and thrives in borders.
- Scabiosa ‘Pink Mist’: This hybrid is a favorite for its airy pink flowers and extended blooming period.
Understanding the characteristics of these varieties can help you choose the right one for your garden space.
Preparing to Grow Scabiosa
1. Gather Your Supplies
To grow scabiosa from seed, you will need:

- Quality scabiosa seeds
- Seed starting mix or potting soil
- Seed trays or pots
- Plastic wrap or humidity dome
- Watering can or spray bottle
- Labels for identification
2. Choose the Right Time to Start Seeds
You can start scabiosa seeds indoors 6–8 weeks before the last expected frost date or sow them directly outdoors once the risk of frost has passed. Starting indoors allows for earlier blooms, while direct sowing can be easier for gardeners in milder climates.
3. Select an Appropriate Location
Scabiosa prefers full sun to partial shade and well-draining soil. If you’re starting seeds indoors, place your trays in a warm, bright location where they can receive plenty of sunlight. Outdoors, choose a spot that gets at least 6 hours of sunlight each day.
Sowing Scabiosa Seeds
1. Prepare the Seed Trays
Fill your seed trays or pots with a sterile seed starting mix. Moisten the soil lightly with water before sowing the seeds. This helps settle the medium and ensures good seed-to-soil contact.
2. Planting the Seeds
Sow the seeds on the surface of the soil, as they require light to germinate. Press them gently into the mix but do not cover them with soil. Spacing is important; if several seeds are started in one tray, thin them later to avoid overcrowding.
3. Create a Humid Environment
Cover the seed trays with plastic wrap or a humidity dome to retain moisture. This step is crucial in preventing the soil from drying out, which can hinder germination. Place the trays in a warm area, ideally around 70°F (21°C).

4. Watering and Monitoring
Using a spray bottle or a gentle watering can, mist the soil to keep it consistently moist but not soggy. Check your trays daily, ensuring that the seedlings have adequate moisture. In about 10 to 14 days, the seeds should begin to germinate.
Caring for Scabiosa Seedlings
Once the seeds have sprouted, it’s essential to provide the right care to ensure healthy growth.
1. Provide Adequate Light
As the seedlings grow, they will need ample light. If natural sunlight is insufficient, consider using grow lights to supplement their light needs. Ideally, scabiosa seedlings should receive 12–16 hours of light daily.
2. Thin the Seedlings
When the seedlings develop their second set of true leaves, thin them by snipping the weaker seedlings at the base to avoid disturbing the root systems of the stronger plants. Aim to space the remaining seedlings about 4–6 inches apart.
3. Fertilizing
About four weeks after germination, begin feeding your seedlings with a diluted liquid fertilizer every 2-4 weeks. This will provide the necessary nutrients for strong growth and flower production.

4. Harden Off the Seedlings
Before transplanting the seedlings outdoors, harden them off by gradually introducing them to outdoor conditions. Start by placing them outside for a few hours each day, gradually increasing the time over a week or two.
Transplanting Scabiosa to the Garden
1. Choosing the Right Time
Transplant your hardened-off seedlings after the last frost date when the soil has warmed. Ensure that nighttime temperatures are consistently above 50°F (10°C) to minimize stress to the plants.
2. Preparing the Garden Bed
Choose a well-drained location with full sun exposure. Amend the soil with compost or well-rotted manure to enhance fertility. Create rows or individual planting holes spaced about 8–12 inches apart to allow for adequate growth.
3. Transplanting Tips
Carefully remove the seedlings from the trays, ensuring that you disturb the roots as little as possible. Place each seedling in its prepared hole, filling in around the roots and gently patting the soil down to eliminate air pockets. Water the plants thoroughly after transplanting.
Maintenance During the Growing Season
1. Watering
During the first few weeks after transplanting, water the scabiosa plants regularly to establish deep roots. Once they are established, scabiosa is fairly drought-tolerant. Water them only during extended dry spells to prevent overwatering.

2. Weeding and Mulching
Regularly check for weeds and remove them to reduce competition for nutrients and water. Applying a layer of organic mulch helps retain moisture, suppress weeds, and improve soil conditions as it decomposes.
3. Fertilizing
If your soil is generally low in nutrients, apply a balanced slow-release fertilizer at the beginning of the growing season. Avoid over-fertilizing, as excess nitrogen can lead to lush foliage with fewer flowers.
4. Deadheading
To encourage continuous blooming and prolong the flowering season, deadhead spent flowers. This involves pinching off faded blooms before they go to seed, allowing the plant to focus energy on producing new flowers.
5. Pest and Disease Management
Scabiosa is relatively pest-resistant, but keep an eye out for aphids, spider mites, and powdery mildew. Regularly inspect your plants, and address any issues promptly using organic insecticides or fungicides if needed.
Harvesting and Enjoying Your Scabiosa
1. Cutting Flowers
Once your scabiosa plants begin to bloom, you can start enjoying their beautiful flowers. Cut the stems in the morning when the flowers are fully open. Using sharp scissors, cut them at an angle to maximize water absorption.

2. Arranging
Scabiosa flowers make stunning additions to floral arrangements. Their unique shape and colors add texture and charm. Combine them with other summer blooms like zinnias or cosmos for a vibrant bouquet.
3. Seeds for the Future
If you’re interested in saving seeds for the next season, allow a few flowers to mature and dry on the plant. Once the seed pods are dry and brown, collect, label, and store them in a cool, dry place until ready for planting.
Conclusion
Growing scabiosa from seed can be a simple and satisfying journey, culminating in a garden filled with stunning flowers that attract pollinators and provide visual delight throughout the growing season. By following these steps, you’ll be well on your way to nurturing scabiosa plants that will grace your garden for years to come. With the right care, these exceptional flowers can become a cherished part of your outdoor space, offering beauty and joy with every bloom.