Microgreens are tiny, nutrient-packed plants that offer a burst of flavor and color to dishes. Among the various options available, radish microgreens are particularly popular due to their peppery flavor, vibrant color, and rapid growth cycle. This article will guide you through the process of growing radish microgreens at home, and provide helpful tips and FAQs to ensure success.
What Are Microgreens?
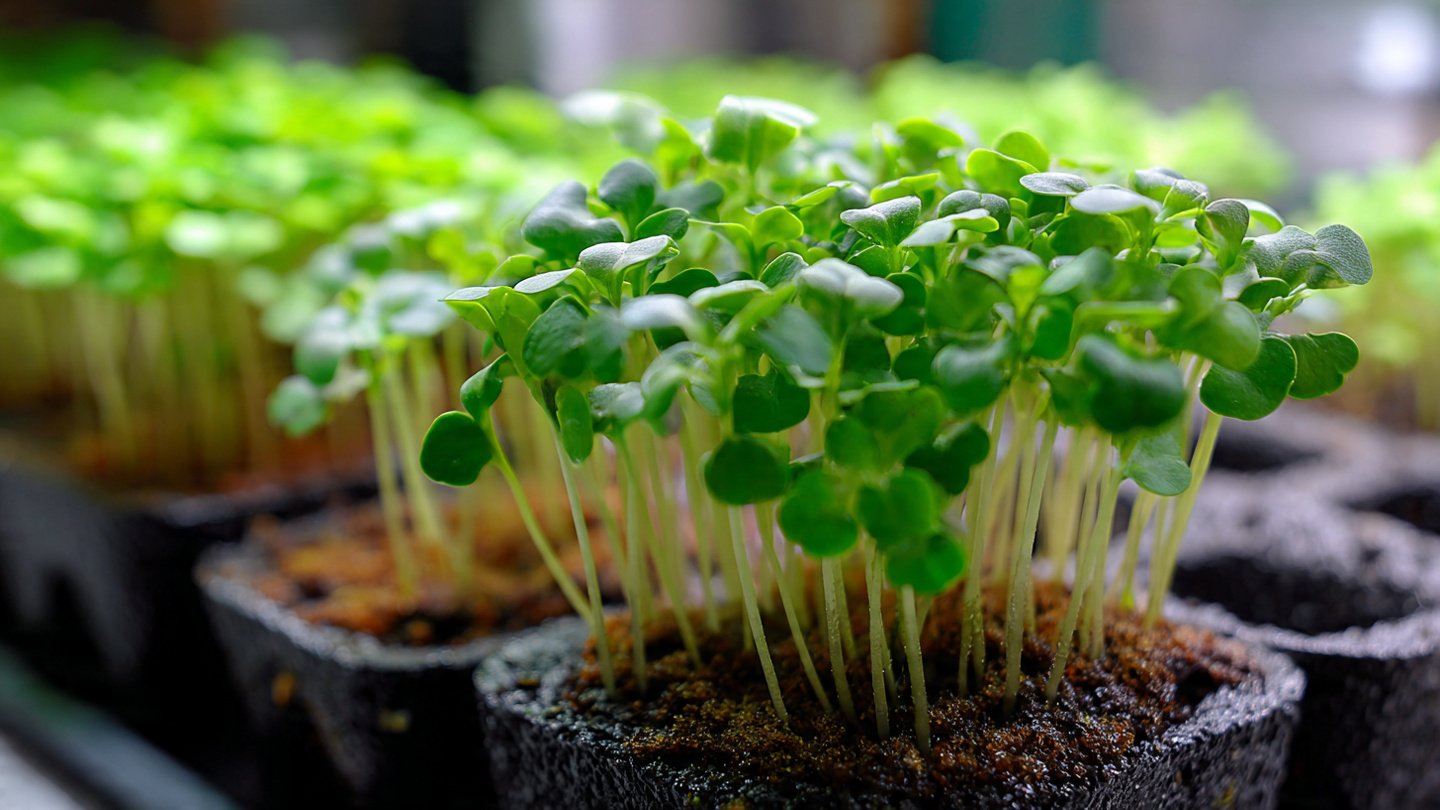
Microgreens are young seedlings of edible vegetables, herbs, or other plants, harvested just after the first true leaves, called cotyledons, have developed and before the plant fully matures. They are often used as garnishes or ingredients in salads, sandwiches, and other culinary creations because they are rich in vitamins, minerals, and antioxidants.
Health Benefits of Radish Microgreens
- Nutrient-Dense: Radish microgreens are high in vitamins A, B, C, E, and K, and they also contain minerals like calcium and iron.
- Antioxidants: They have antioxidant properties that can help combat oxidative stress in the body.
- Heart Health: The compounds in radish microgreens can help promote cardiovascular health by improving cholesterol levels.
- Anti-Inflammatory: Their anti-inflammatory properties contribute to overall health and well-being.
Why Grow Radish Microgreens?
Growing radish microgreens at home is not only easy but also rewarding. Here are some additional reasons to consider:
- Quick Growth: Radish microgreens can be harvested in as little as 7-14 days.
- Minimal Space Required: They can be grown on a windowsill, countertop, or balcony.
- Cost-Effective: Growing your own microgreens can save you money compared to buying them from the store.
- Freshness: Homegrown microgreens provide fresher flavor and better nutritional quality.

How to Grow Radish Microgreens: A Step-by-Step Guide
Growing radish microgreens can be accomplished in just a few simple steps. Below is a detailed step-by-step guide:
Step 1: Gather Your Supplies
Before you begin, gather the necessary materials. Here’s what you’ll need:
- Seeds: Look for certified organic radish seeds specifically meant for microgreens.
- Growing Medium: Use a soilless mix, coconut coir, or organic potting mix. Avoid traditional garden soil as it may contain pests or pathogens.
- Containers: Shallow trays or containers with drainage holes work best.
- Watering Can or Spray Bottle: For gentle watering.
- Light Source: Bright, indirect sunlight works best. If you don’t have natural light, LED grow lights can be used.
Step 2: Prepare the Containers
- Fill Containers: Fill your trays with the chosen growing medium, about 1-2 inches deep.
- Moisten the Medium: Water the medium lightly so that it is moist but not waterlogged. Allow it to settle.

Step 3: Sow the Seeds
- Even Distribution: Sprinkle radish seeds evenly over the surface of the growing medium. Aim for about 10-20 seeds per square inch for a lush growth.
- Lightly Press: Gently press the seeds into the medium using a flat object to ensure good seed-to-soil contact.
Step 4: Cover the Seeds
- Lightly Cover: Use a thin layer of growing medium or vermiculite to lightly cover the seeds. This step is optional; radish seeds can also germinate without covering.
- Water Again: Mist the surface to ensure the seeds are adequately watered.
Step 5: Create a Dark Environment
Radish seeds germinate best in darkness. Cover the trays with a dark lid, cloth, or another tray to block out light. This step should last about 3-5 days.
Step 6: Provide Light
After the seeds have germinated and you see tiny sprouts:
- Remove the Cover: Remove any cover that was blocking the light.
- Position Under Light: Place the trays in a well-lit spot where they receive indirect sunlight or use grow lights for about 12-16 hours per day.

Step 7: Watering and Care
- Watering: Keep the soil consistently moist, but avoid oversaturating. Use a spray bottle for gentle watering to avoid disturbing the seedlings.
- Air Circulation: Ensure good air circulation around the microgreens to prevent mold and disease.
Step 8: Harvesting
Your radish microgreens will be ready to harvest in about 7-14 days once they reach about 1-2 inches tall. Follow these steps:
- Check for Maturity: Look for developed cotyledons and a rich green color.
- Use Scissors: Cut the microgreens just above the soil level with clean scissors.
- Rinse Gently: Rinse your harvested microgreens in cold water, then store them in a container lined with paper towels to absorb moisture.
Step 9: Storage
- Store the harvested radish microgreens in a refrigerator. They can last for about a week, but for the best flavor and freshness, consume them as soon as possible.
Tips for Success

- Temperature: Aim for an optimal growing temperature of 65-75°F (18-24°C).
- Avoid Overcrowding: Sowing too many seeds can lead to overcrowding and increased risk of mold.
- Monitor Conditions: Regularly check for any signs of pests or mold and address them promptly.
- Experiment with Varieties: Try different varieties of radish for various flavors and colors.
Frequently Asked Questions (FAQs)
1. Can I grow radish microgreens in soil?
Yes, radish microgreens can be grown in soil, but using a soilless mix or coconut coir is typically recommended for better drainage and reduced risk of pests.
2. How often should I water my radish microgreens?
Water your radish microgreens as needed to keep the soil consistently moist but not waterlogged. Generally, daily misting is sufficient.
3. What is the best lighting for growing radish microgreens?
Ideally, radish microgreens should receive bright, indirect sunlight for 12-16 hours a day. If natural light is insufficient, LED grow lights can be excellent alternatives.
4. Can I grow radish microgreens without a growing medium?
While it’s possible to sprout radish seeds without soil in a hydroponic setup, using a growing medium provides better support and nutrients for the seedlings.

5. What are the signs that my radish microgreens are ready to harvest?
Radish microgreens are ready to harvest when they are about 1-2 inches tall, have developed their first true leaves (cotyledons), and appear vibrant and green.
6. Are radish microgreens safe to eat raw?
Yes, radish microgreens are safe to eat raw and can be added to salads, sandwiches, and stir-fries for extra flavor and nutrition.
7. Can I reuse the growing medium after harvesting?
It is not recommended to reuse the growing medium due to potential pathogens and nutrient depletion. For best results, use fresh growing medium for each new batch.
8. How long do radish microgreens last after harvest?
Radish microgreens can typically last about a week in the refrigerator when stored properly in an airtight container with a paper towel to absorb moisture.
Conclusion
Growing radish microgreens at home is a straightforward and fulfilling endeavor that offers numerous health benefits. By following this guide, you can enjoy fresh, nutritious, and flavorful microgreens in your meals, enhancing both your cooking and your health. So, gather your supplies, get started, and relish the rewards of home gardening!