Creating a multi-level plant stand is an excellent way to showcase your indoor or outdoor plants while maximizing space. With a bit of creativity, basic carpentry skills, and the right materials, you can build a beautiful stand that complements your home decor or garden. This article will guide you through the process of building a stunning multi-level plant stand from scratch, covering everything from planning to construction. Let’s get started!
1. Gather Your Materials
The first step is to gather all the necessary materials. Here’s what you will need:
- Wood (such as pine or cedar) for the structure
- Screws or nails
- Wood glue
- Sandpaper or a power sander
- Wood stain or paint (optional)
- Tools: saw, drill, screwdriver, measuring tape, level

2. Plan Your Design
Before cutting any wood, it’s essential to draft a design for your plant stand. Consider how many levels you want and the overall dimensions. Here are a few tips to help with your design:
- Sketch Your Layout: Create sketches of the plant stand from different angles. This will help you visualize the space and make adjustments as needed.
- Dimensions: Decide the height, width, and depth of each level. Ensure that the levels are spaced appropriately for the plants you intend to use.
- Stability: Consider adding a wider base to ensure the stand remains stable, especially if you’re stacking pots on multiple levels.
3. Cut the Wood
Once your design is ready, it’s time to cut the wood to size. Use the following steps:
- Measure the lengths of wood required for the main frame and the shelves.
- Use a saw to cut the wood according to your measurements. Make sure your cuts are straight for a clean finish.
- Sand down the edges of the cut pieces to avoid splinters and create a smooth finish.

4. Assemble the Base
Start by constructing the base of your plant stand:
- Arrange the wood pieces to form a rectangular shape for the bottom. Use a drill to fasten the corners together with screws or nails.
- If you want extra stability, you can add cross-bracing at the corners using smaller pieces of wood.
- Make sure the base is level and your structure is square by measuring the diagonals. They should be equal.
5. Construct the Shelves
Next, it’s time to add the shelves:
- Decide how many shelves you want and their positions. Mark these locations on the vertical supports.
- Attach the shelves to the vertical supports using screws. Ensure each shelf is level before securing it completely.
- Consider using brackets for additional support, especially if the shelves will hold heavier pots.

6. Finishing Touches
Now that the structure is complete, it’s time to give your plant stand a finishing touch:
- Sand Everything Smooth: Go over the stand with sandpaper or a power sander again to ensure a smooth finish.
- Stain or Paint: Apply wood stain or paint to protect the wood from moisture and enhance its appearance. Make sure to let it dry thoroughly.
- Add a Sealant: If you plan to use the stand outdoors, consider applying a sealant to protect it from the elements.
7. Position Your Plant Stand
Now that your plant stand is complete and dry, it’s time to find the perfect spot:
- Choose a location that gets adequate sunlight for your plants.
- Ensure the ground is level to prevent the stand from tipping over.
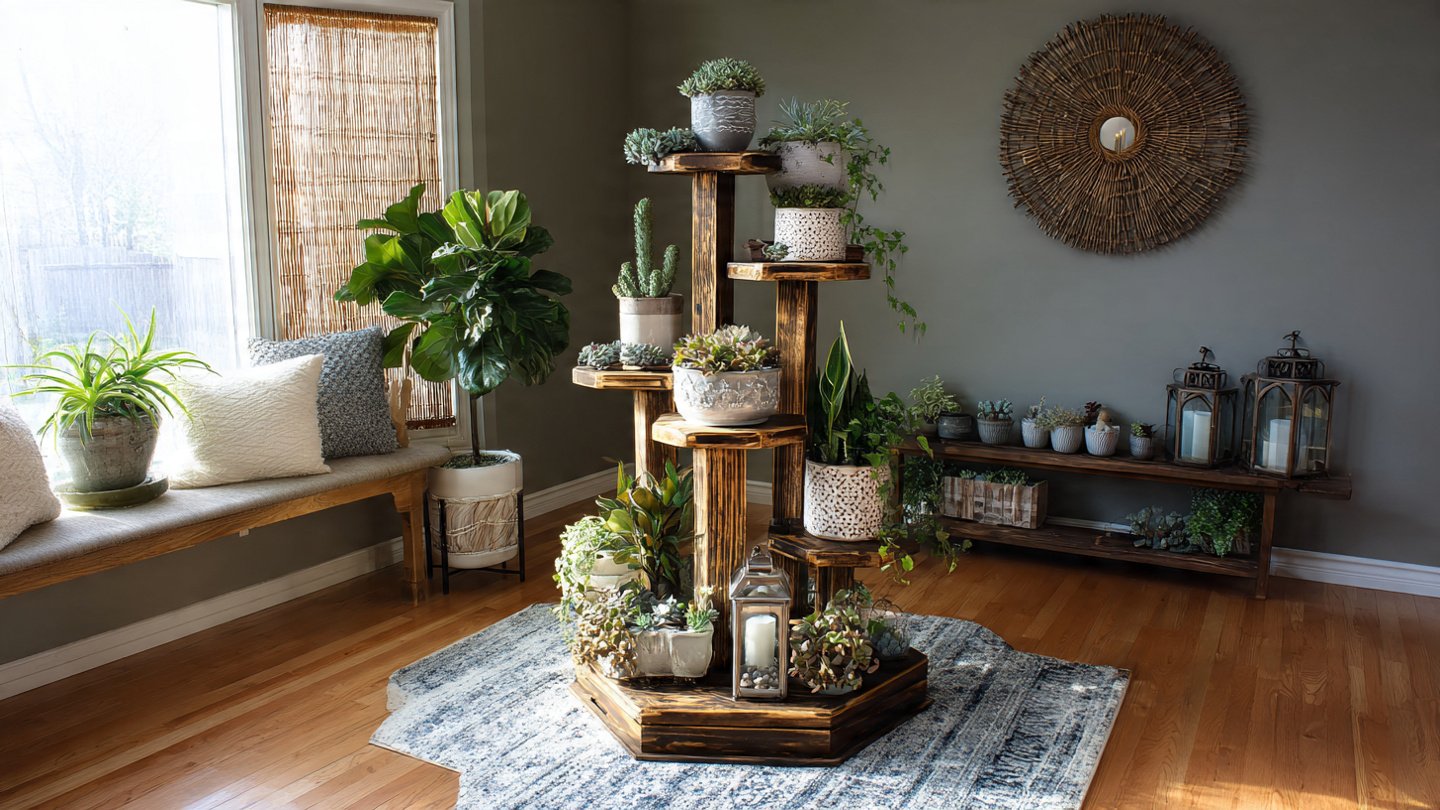
- Add decorative pots and plants to create a visually appealing display.

Conclusion
Building a multi-level plant stand from scratch is a rewarding project that not only enhances your gardening experience but also serves as a beautiful addition to your home or garden. With careful planning, patience, and attention to detail, you can create a unique piece that beautifully displays your plants. Remember to have fun with this project, and don’t hesitate to personalize it with colors and different wood types to match your style.
FAQs
1. What type of wood is best for a plant stand?
Cedar and pine are great choices because they are durable and resistant to moisture, which is beneficial for plant stands.
2. How do I ensure my plant stand is stable?
A wider base and the use of cross-bracing will help provide stability. Ensure that all levels are securely attached and levelled properly.

3. Can I use recycled materials to build my plant stand?
Absolutely! Using reclaimed wood is an environmentally friendly option and can add character to your plant stand.
4. How can I make my plant stand weather-resistant?
Applying a waterproof sealant and using pressure-treated wood can enhance the weather resistance of your plant stand.
5. What’s the best way to maintain my plant stand?
Regularly check for any wear or damage, and clean the surface to prevent mold and algae buildup, especially if located outdoors.