Growing carrots in your home garden can be a rewarding experience. Carrots are not only nutritious but also relatively easy to grow. Whether you’re a beginner or a seasoned gardener, this guide will provide you with all the necessary steps to successfully cultivate carrots from seeds.
Understanding Carrots
Carrots (Daucus carota subsp. sativus) are a root vegetable that belongs to the Apiaceae family. They require well-draining soil and a bit of sun, making them suitable for various garden settings. There are multiple varieties of carrots, ranging in color from classic orange to purple, yellow, and even white. Each variety has its unique flavor and growing conditions.
Choosing the Right Variety
Before you plant, it’s essential to determine which type of carrot is best for your garden:
1. Nantes
- Description: Smooth, cylindrical roots.
- Ideal for: Short growing seasons.
2. Danvers
- Description: Tapered roots that store well.
- Ideal for: Versatile in various soil types.
3. Imperator
- Description: Long, slender roots.
- Ideal for: Deep soil, typically found in grocery store carrots.
4. Chantenay
- Description: Short, broad roots.
- Ideal for: Clay soil and beginner gardeners.
5. Purple Haze
- Description: A hybrid with purple skin and orange flesh.
- Ideal for: Those wanting an attractive and flavorful addition.
Preparing Your Garden
1. Location
Carrots require full sunlight for optimal growth, so choose a spot in your garden that receives at least six hours of direct sunlight daily.
2. Soil Preparation
Carrots thrive in loose, sandy loam or loamy soils that don’t compact easily.

- Soil pH: Aim for a pH between 6.0 and 6.8.
- Testing Soil: You can use a soil testing kit to understand nutrient levels and pH.
- Soil Amendment: Before planting, incorporate organic matter like compost or well-rotted manure to improve soil texture and nutrient content.
3. Weed Control
Weeds can compete with carrot seeds for nutrients and water. Clear your garden bed of weeds and consider using a layer of mulch after planting to suppress future growth.
Sowing Carrot Seeds
1. When to Plant
Carrots are typically sown in early spring or late summer to early fall, depending on your climate.
- Spring Planting: As soon as the soil can be worked and is 50°F (10°C) or above.
- Fall Planting: Aim for about 10 weeks before the first expected frost for winter harvesting.
2. Planting Depth and Spacing
Sow seeds about ¼ to ½ inch deep and space them 1-2 inches apart. Rows should be about 12-18 inches apart to allow adequate space for growth.
3. Watering After Planting
Water thoroughly after planting to remove any air pockets from the soil and ensure seed-to-soil contact. Keep the soil moist but not soggy during germination, which typically takes 14-21 days.
Caring for Your Carrots
1. Watering
Carrots need consistent moisture throughout their growing period. Ideally, provide about 1 inch of water per week. Drip irrigation or soaker hoses can be an excellent way to keep the soil consistently damp.

2. Thinning Seedlings
Once seedlings have developed two sets of true leaves, thin them to about 3 inches apart. This step is crucial as crowded seedlings may produce misshapen carrots.
3. Weeding
Regularly check your garden bed for weeds, especially in the early stages of growth. Hand-pulling weeds is often the best method, as it minimizes disturbance to the carrot roots.
4. Fertilization
Carrots generally do not require much fertilizer, but you can apply a balanced, slow-release fertilizer once during the growing season. High-nitrogen fertilizers might encourage leafy growth at the expense of root development.
5. Pest and Disease Management
While carrots are relatively pest-resistant, they can occasionally fall prey to:
- Carrot Flies: Small, black flies that can lay eggs near the roots. To prevent infestations, consider using row covers or planting companion plants like garlic.
- Leaf Blight: A fungal infection that causes leaves to yellow. Maintain good air circulation and avoid overhead watering.
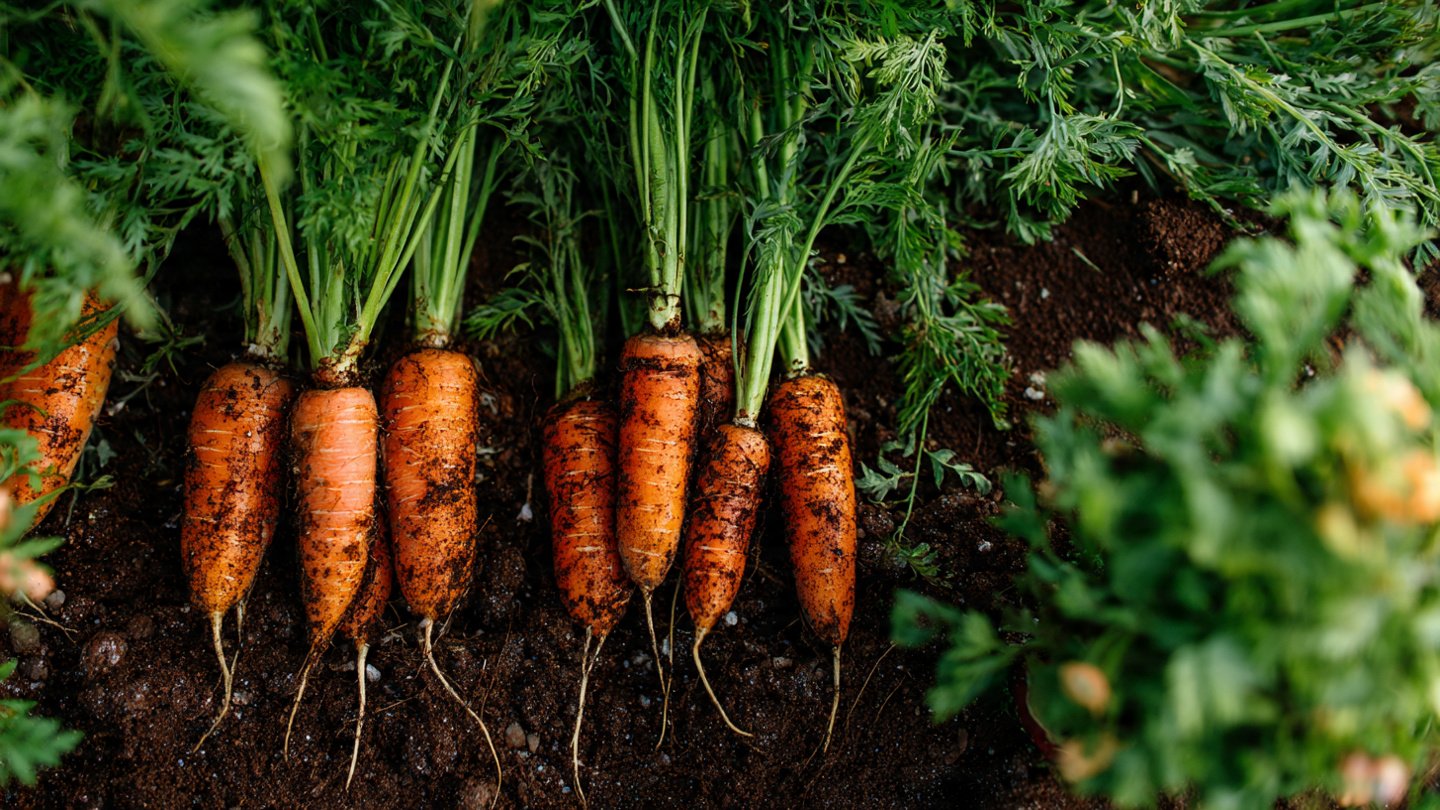
Harvesting Carrots
Carrots are usually ready for harvest in about 70-80 days, depending on the variety. Signs that they are ready include:

- Top foliage is lush and green.
- You can see the carrot tops just above the soil surface.
1. Harvesting Technique
To harvest, gently loosen the soil around the carrot with a garden fork, being careful not to damage the root. Pull the carrot by its leaves, ensuring you grip close to the base to avoid snapping.
2. Post-Harvest Care
Once harvested, remove the greens to prevent the carrots from losing moisture quickly. Carrots can be stored in a cool, dark place for several weeks.
Storing Carrots
For long-term storage, consider the following methods:
- Refrigeration: Store in the refrigerator in a sealed bag with some moisture to keep them crisp.
- Root Cellar: If you have a root cellar, carrots can be stored in damp sand or sawdust to prolong freshness.
FAQs
1. Can I grow carrots in containers?
Yes, carrots can be grown in deep containers. Ensure the container is at least 12 inches deep to accommodate the root growth.
2. Why are my carrots misshapen?
Misshapen carrots can be the result of overcrowding, poor soil conditions, or inconsistent watering.

3. Can I plant carrot seeds directly in the ground?
Yes, carrot seeds should be sown directly into the ground as they do not transplant well.
4. How can I tell if carrots are ready to harvest?
Carrots are ready to harvest when they are at least 1 inch in diameter and the tops are visible above the soil.
5. What is the best way to store carrots?
Store carrots in a cool, dark place or in the refrigerator, preferably in a sealed plastic bag with some moisture.
6. Can I reuse carrot seeds?
While you can collect carrot seeds from your plants, hybrids may not produce the same variety in subsequent generations.
Conclusion
Growing carrots from seeds is a straightforward process that can yield a delicious and nutritious harvest. With the right preparation, care, and attention, your home garden can provide you with sweet, crisp carrots that enhance your meals. Start small, experiment with different varieties, and enjoy the satisfaction of home-grown produce. Happy gardening!
